
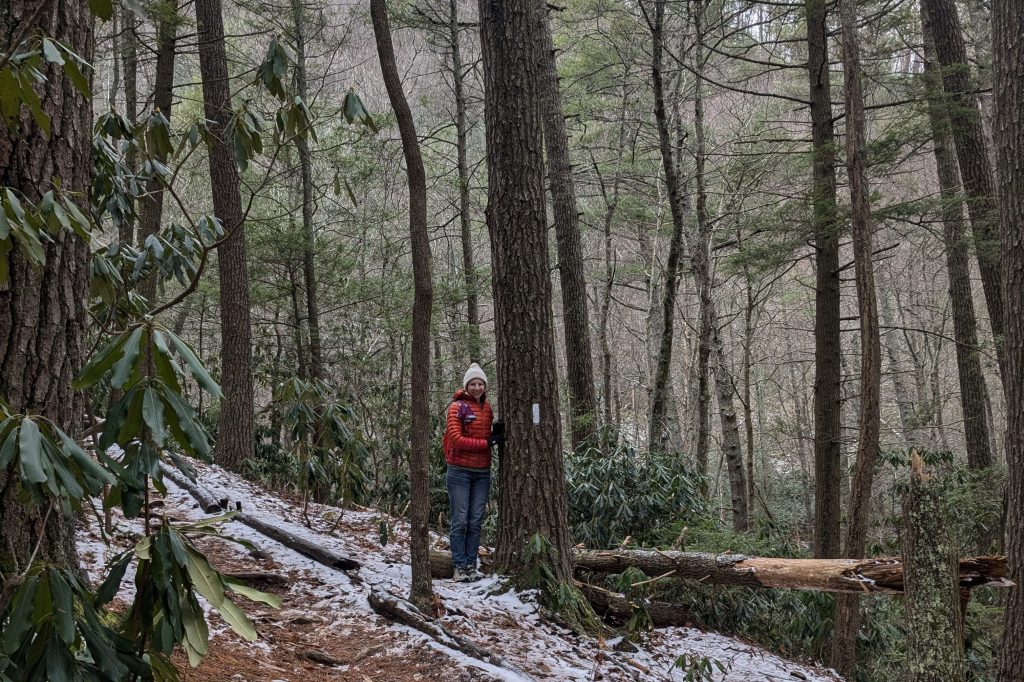
At the end of December, I slipped on some wet leaves while walking and dislocated my knee cap. Ouch! As someone who regularly puts my knees to the test backpacking, trail running, lifts weights, and downhill skiing, I was caught off guard by this sudden injury.
The timing of this injury is less than ideal (though is there ever a good time to be injured?). As you know, I am planning to thru-hike the Pacific Crest Trail (PCT) this year, starting in May. I’d been looking forward to having a nice base of trail running and weight lifting before starting targeted thru-hike training this spring in order to start my journey strong.
However, thanks to this injury, I’m starting my PCT training from zero. Having started 2025 on crutches, it’s a bit daunting to think that in a few short months I plan to embark on a hike from Mexico to Canada! So, my new goal is to get and stay healthy and build back some strength before starting the big hike.
What is a patella dislocation?
A patella or kneecap dislocation is when kneecap bone is fully forced out of the groove it normally sits in atop the femur (thigh bone). The kneecap appears to move over and around to the side of the knee joint, which is both gross and terrifying. This can happen due a combination of bending and twisting or from a direct blow to the knee. Preexisting issues with the bones or soft tissue of the knee joint predispose some people to this injury.
Patella dislocations sometimes cause complications such as torn ligaments, damaged cartilage, or bone fractures. Thankfully, I had no complications from this dislocation and did not need surgery. Consequently, my recovery was relatively quick.
In this post, I’m sharing my experience recovering from my recent patella dislocation and the timeline of my recovery. Following the injury, I’ve found myself wishing for a road map of what the recuperation might look and feel like. I hope this post can provide that to someone. However, if you are recovering from a similar injury, your recovery process and timeline may look different from mine – please listen to your body and talk to your doctor. This post is not medical advice – I simply wanted to document and share my recovery process.

Day 0 (Day of the Injury)
This injury took place while traveling over the holidays. I slipped on some wet leaves walking down a slope. Somehow, I laterally dislocated my knee cap as I fell. Right away, I instinctively straightened my leg which thankfully reduced (“re-located”) the knee cap.
If you’ve ever had a dislocation, you know how awful this type of injury feels. The first time I dislocated my kneecap as a kid, it got STUCK for three hours before the doctor at the ER reduced it. Those three hours were the most painful experience of my life. This most recent dislocation was also painful but fortunately very brief.
I’m feeling lucky this dislocation didn’t happen in the middle of nowhere. Instead, I only had to limp maybe 300 yards to get back indoors where I promptly rested and elevated my knee for about an hour. But only an hour – since I was due to leave for the airport to catch my flight home. In hindsight, sitting on an airplane so shortly after a dislocation was not ideal for recovery.
Day 1
When I woke up the next morning, my swollen knee looked like a cantaloupe melon. More concerning, my quad muscle was nearly unresponsive. When my brain told the muscle to contract, nothing happened.
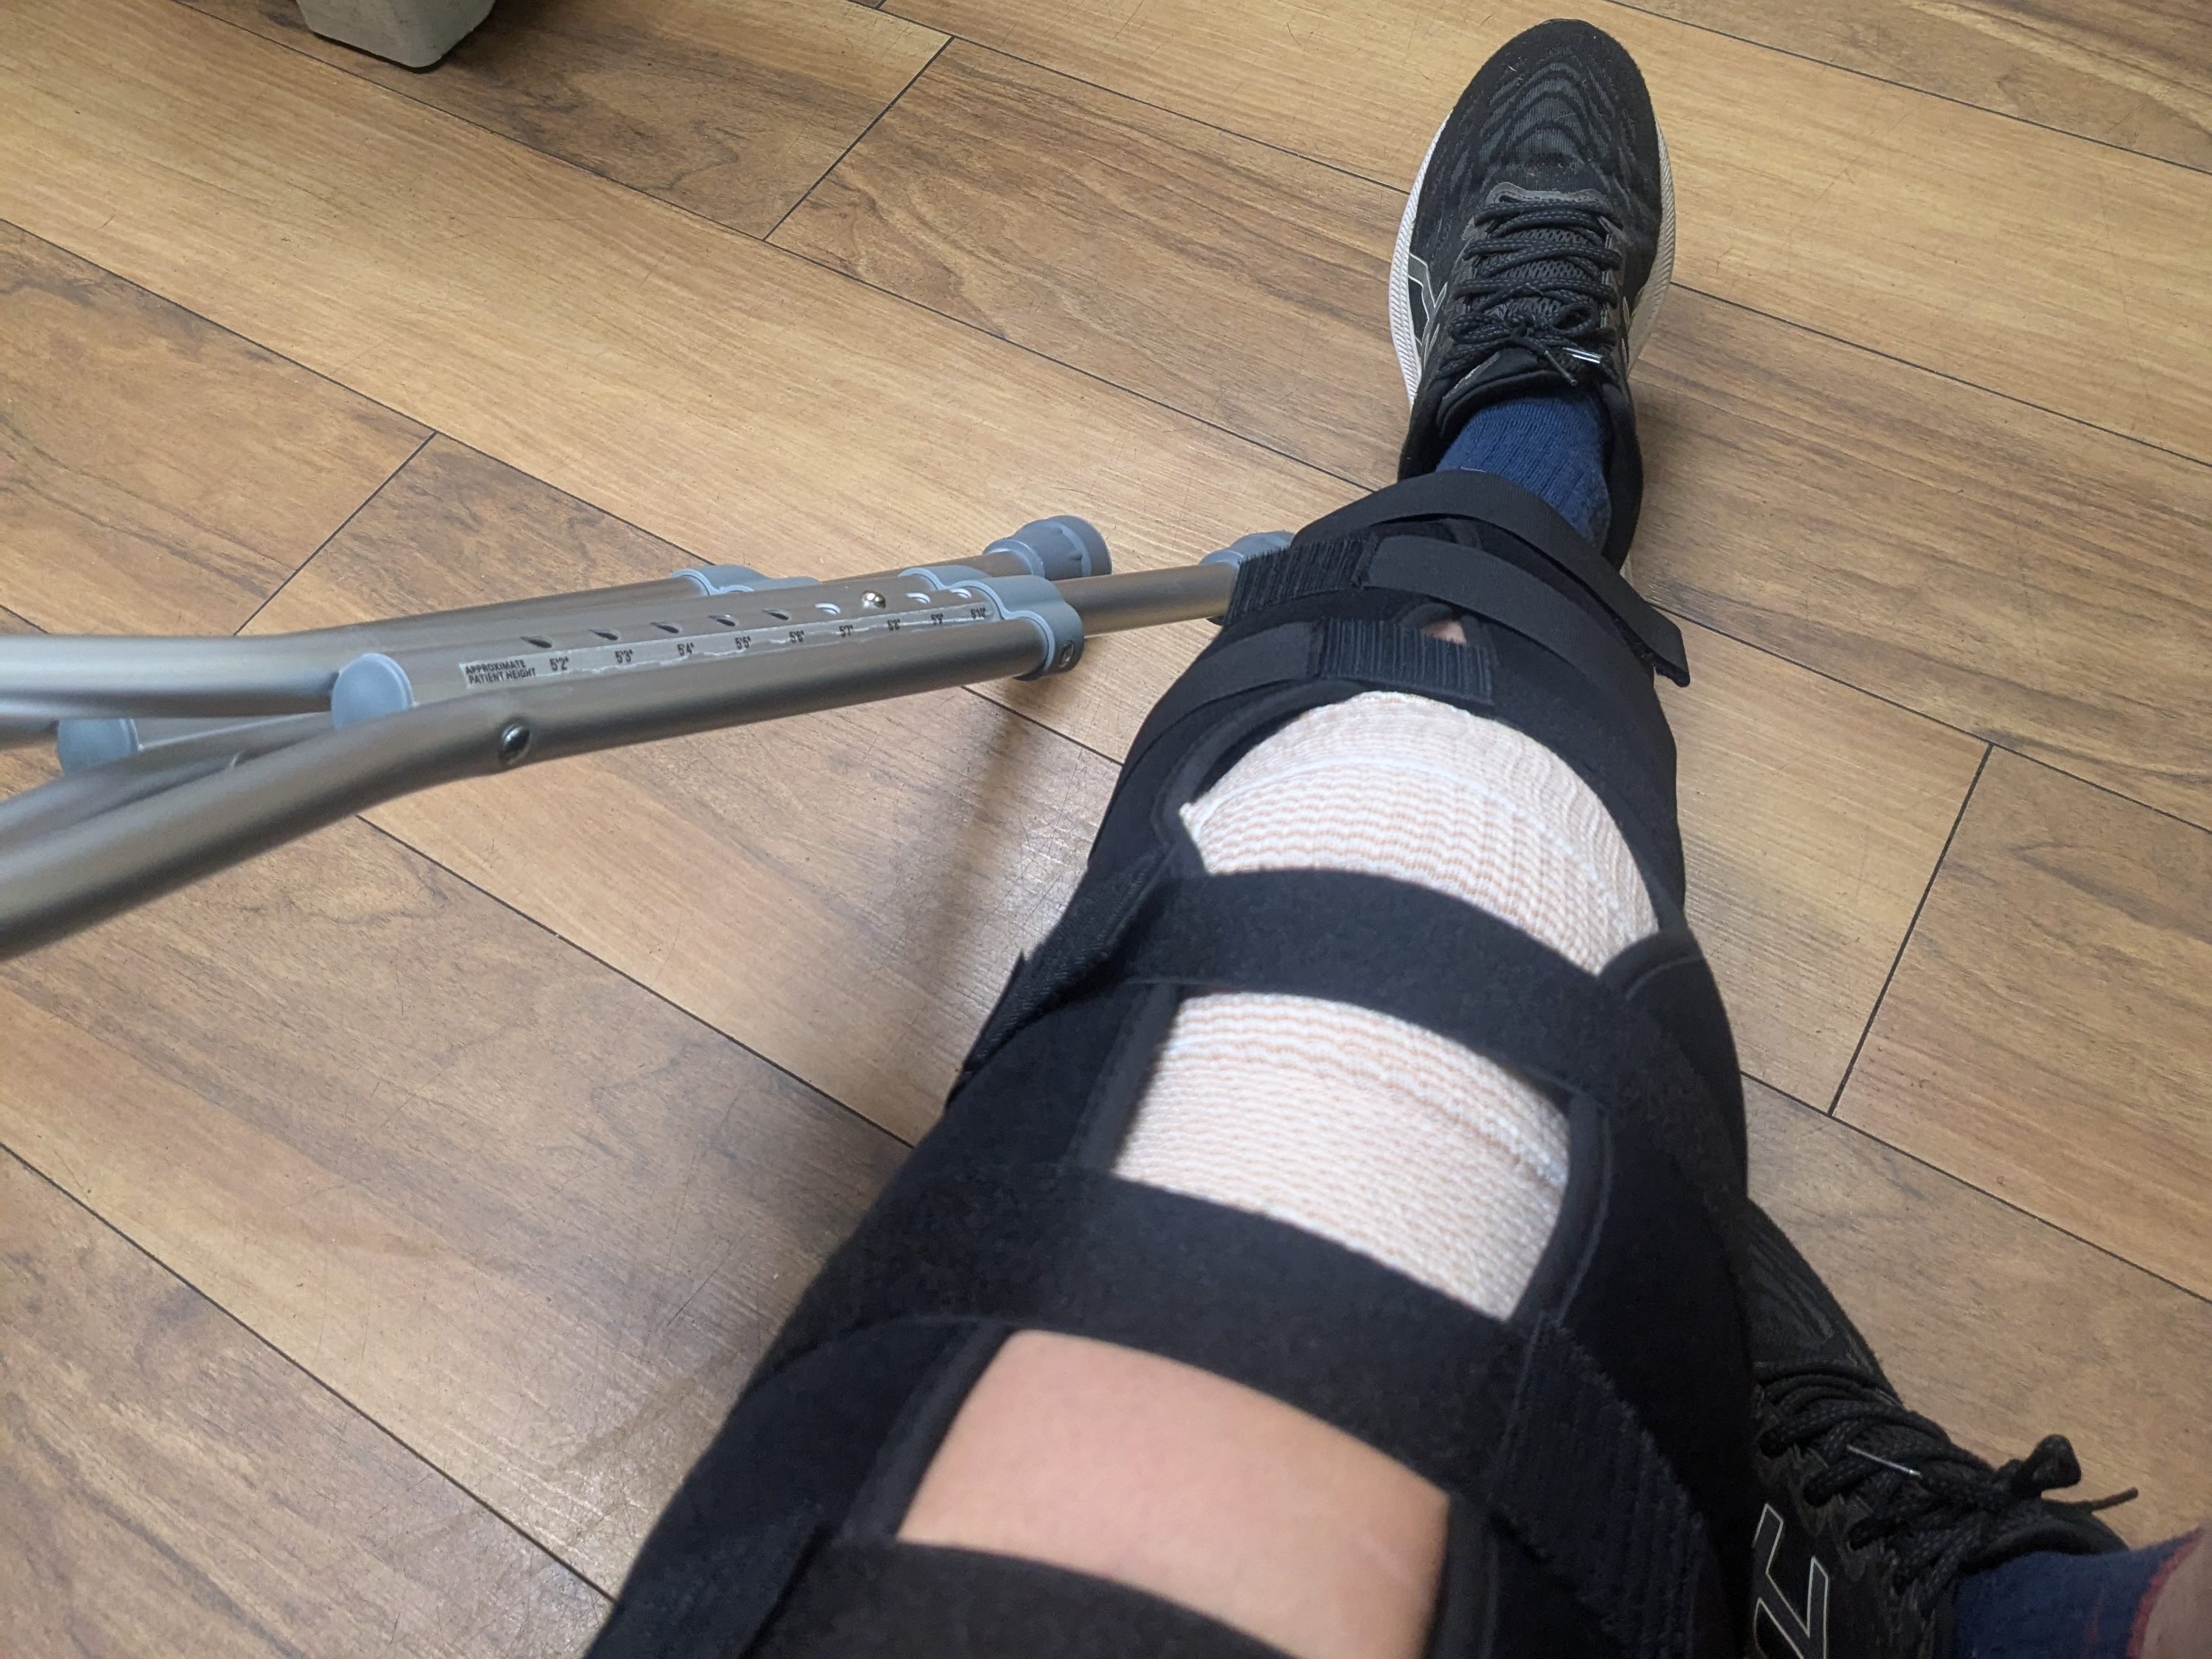
Feeling a freaked out, I limped into my local urgent care. I got x-rayed and purchased a knee immobilizer and crutches, which I was instructed to use until I could get checked out by an orthopedic specialist.
Day 2
The swelling peaked on day 2. While uncomfortable, my overall pain was surprisingly low and manageable with RICE (rest, ice, compression, and elevation).
I tried to keep my leg elevated as much as possible and used the crutches to get around my house. By the evening, I was just barely able to contract my quad muscle ever so slightly, which seemed like a good sign.
Day 3
Since it didn’t cause me pain, I started partially bearing weight on the injured knee, while still using the immobilizer and one crutch. My ability to tense my quad muscle improved, and the swelling was no longer increasing.
Though my pain wasn’t bad, day 3 was tough. The joint felt incredibly weak and unstable, making my usual routines a struggle. It took way longer than normal to do simple activities like cooking, dishes, folding laundry, and getting dressed.
End of Week 1
One week after the dislocation, my knee looked less like a melon, though still swollen. I could fully bear weight on the injured knee which made tasks like cooking easier. I still used one crutch and wore the knee immobilizer as much as I could tolerate it.
Within the first week, I started briefly removing the immobilizer each day to test my range of motion. No one told me to do this, but my curiosity got the better of me. Surprisingly, at one week out, I could flex my knee to nearly a right angle without pain. I could also do a straight leg raise with some difficulty.
End of Week 2
I removed the immobilizer on day 10, at the instruction of my doctor. After the immobilizer came off, I made progress quickly! Two weeks after the injury, I could extend (kick out) my leg to nearly straight while seated in a chair. I was walking up and down the stairs with confidence. I had no pain walking or stationary biking for 30 minutes.
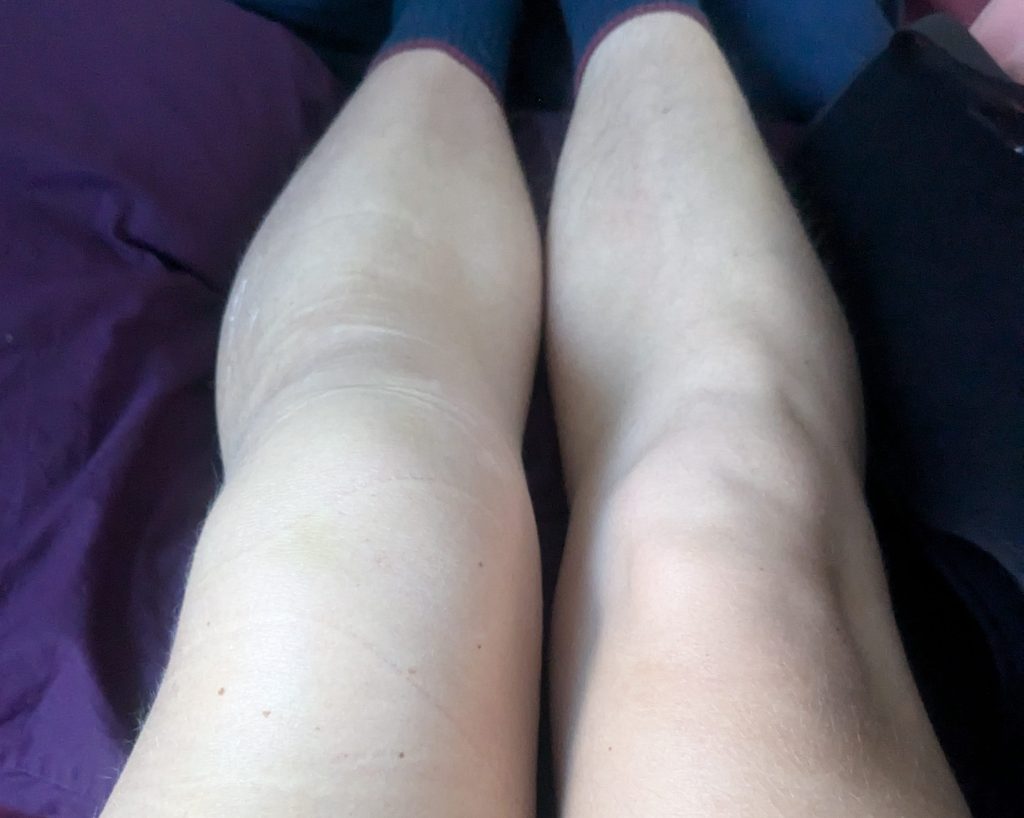
However, after just 10 days of immobilization, the muscles of my left leg looked ridiculously tiny compared to the right one. Furthermore, the knee still felt weak and occasionally buckled or locked up. I hoped this was due to the fluid still lingering in the moderately swollen joint, rather than a complication from the dislocation such as damaged cartilage.

End of Week 3
At the end of week three, my range of motion still wasn’t 100%. Specifically, I realized my injured left leg couldn’t straighten as much as the right one. Also, when bending, my quad and inner knee still felt very tight or even pinchy. On a positive note, the knee looked less swollen and buckled and locked up less often.
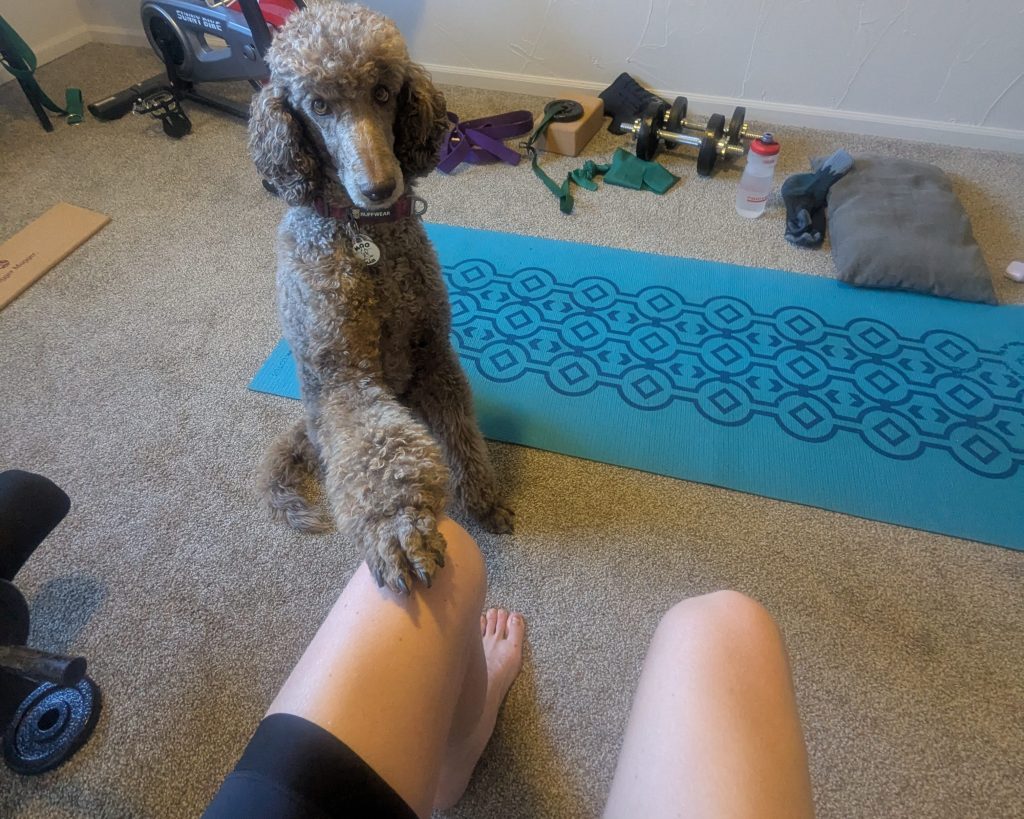
I booked a telehealth physical therapy (PT) session at the beginning of week 3 and got instructions to begin gentle strength exercises like wall sits. I progressed to walking for up to an hour at a brisk pace of 3 to 4 mph. Best of all, the quad and joint felt less weak each day.
End of Week 4
After 4 weeks, the knee felt almost normal doing most day-to-day tasks. Because of this, I occasionally forgot to be careful, causing brief flare ups of pain and light swelling. Even so, my range of motion kept slowly improving. The pinching pain was gone, though the quad and knee still felt tight and sore during certain exercises and activities.
I worked up into the 4-6 mile range for my longer walks! I felt very confident on flat surfaces, but not quite ready to challenge my knee on hills or uneven surfaces. At this point, the idea of running felt impossible, which was disheartening. The joint felt rusty and the quad felt weak and slow to respond.
End of Week 5
Week 5 was a frustrating one. Annoyingly, the injured leg continued refusing to straighten entirely, no matter how much I stretched. I hoped this wouldn’t prevent me from returning to jogging in the near future. More encouragingly, this week I began hiking on some very easy trails with gently rolling slopes and a very light pack.
I also began in-person PT. I challenged the knee with some light hopping exercises and single-leg squats. While not painful, these exercises felt a bit scary and unnatural as I struggled with balance and stability on my injured side.
End of Week 6
During week 6, I continued to work on straightening my knee and engaging my quad muscle in physical therapy. Most excitingly, I started doing the teeniest, tiniest little bit of jogging during my walks! Hooray!
I was so focused on getting to this point that I didn’t realize I still have a long way to go to back to where I was pre-injury. Returning to running after an injury like this doesn’t mean hopping right back into marathon training… Instead, my “runs” will look like walks with short intervals of jogging sprinkled in for a while yet. The key will be easing gradually back into intense activities like running and hiking to avoid secondary injuries during this stage as I slowly rebuild endurance. Welcome to “phase two”!
After 6 weeks, I’m still healing and far from my pre-injury activity level. Even so, I am thrilled with the progress I’ve already made. In the upcoming weeks, as I return to running and hiking, I’ll continue to track my improvement. I’ll share another update in a month or so.
With roughly 3 months until I start the Pacific Crest Trail, I’m anxious to start training my body for the thru-hike that I want. I’m committed to making a full recovery and not letting this injury stop me from starting my trip or reaching my goals. Here’s to doing everything I can (within my power) to stay healthy on trail!

Leave a comment