Before I hiked the Pacific Crest Trail, one section in particular gave me pause: the High Sierra. I was already an experienced backpacker, having completed the Appalachian Trail and Colorado Trail. Even so, the big mountains of the Pacific Crest Trail intimidated me. They posed new challenges I had not faced on either of my past thru-hikes.
Many hikers consider the High Sierra the most challenging (and most scenic) part of the Pacific Crest Trail (PCT). This section is at a higher elevation than the rest of the trail. Consequently, it receives lots of snow in the winter, which lingers into the late spring and summer. I’ll (sheepishly) admit that I watched many You-Tube clips of hikers crossing the Forester Pass snow field before I worked up the nerve to tackle the PCT myself. My own Forester Pass experience was a bit anticlimactic in comparison, but more on that later…
Furthermore, the melting snow in spring and summer causes high water levels in the creeks of the High Sierra. Many of these creeks don’t have bridges. Hikers must wade through them. This also alarmed me, and led me down another rabbit hole of YouTube clips of hikers struggling to ford swollen creeks during spring runoff.
On top of that, the High Sierra is very remote. There are limited resupply options and no paved road crossings for almost 250 miles! This place makes the 100-mile wilderness on the Appalachian Trail look like child’s play.
In this post, I’m doing a deep dive into my time in the High Sierra. I’ll go over my strategy for getting through them and my experience. I’ll also share what worked and what didn’t. I hope this post is educational and reassuring for any aspiring thru-hikers who (like I was) are trapped behind their laptops researching the High Sierra, trying to plan the unplanable.
To provide some context, I grew up in Wisconsin and lived in Colorado for 11 years before hiking the PCT. I’m certainly no stranger to walking and hiking on snow and ice. I did practice with my ice ax a little bit in Colorado before starting the PCT. But I lacked any true mountaineering experience.
I should also note that every year in the High Sierra is different, and conditions change very quickly as snow melts. I’ve included dates in this post for the purpose of sharing my experience. However, all dates will be irrelevant outside the context of 2025. The conditions I experienced on any given day in 2025 will differ from the conditions on those dates this year. I’m no expert, and this is not a guide to the Sierras; this is simply one thru-hiker’s story.
Entry Date
2025 was a very average snow year, according to Postholer, in terms of the peak snow pack. Most of the other NOBO thru-hikers I met considered it a good or manageable snow year for the PCT.
I entered the High Sierra on June 6th in 2025. This was perfect – with two caveats. It was perfect in 2025. Every year is different. The amount of snow and timing of the melt can vary a lot in the High Sierra. A hiker entering the High Sierra on June 6, 2023 (a record snow year) saw a heck of a lot more snow than I did with this entry date in 2025.
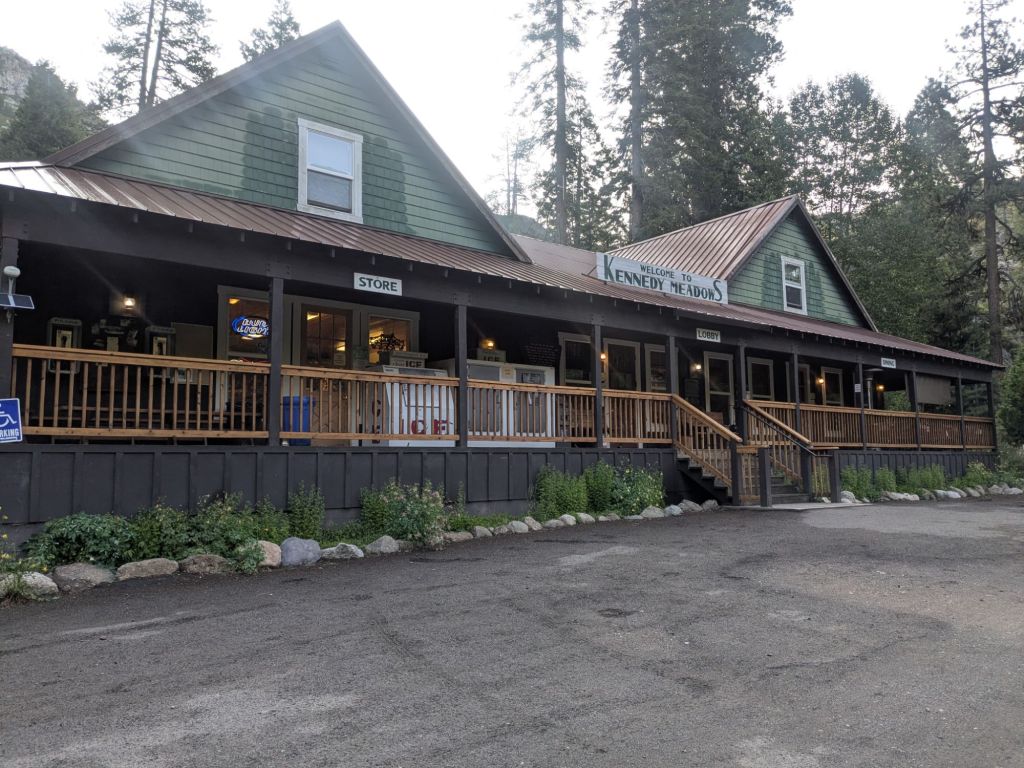
Second caveat: my Sierra entry date was perfect for me. When I reached Kennedy Meadows South, at the start of the High Sierra, I met many thru-hikers who were waiting around for more snow to melt. This briefly made me doubt myself, but ultimately I was fine entering the Sierras when I did. However, I don’t think the hikers who waited longer were wrong in doing so. They were making the best choices for themselves based on their own risk tolerances and snow/mountaineering skills.
Conversely, many thru-hikers entered considerably earlier than I did in 2025, and were just fine. Since I started the PCT in May, some March starters reached Kennedy Meadows before I even began the trail! Those who chose to enter the High Sierra early experienced a lot more snow than I did. I expect/hope they have better mountaineering and snow travel skills than I do.
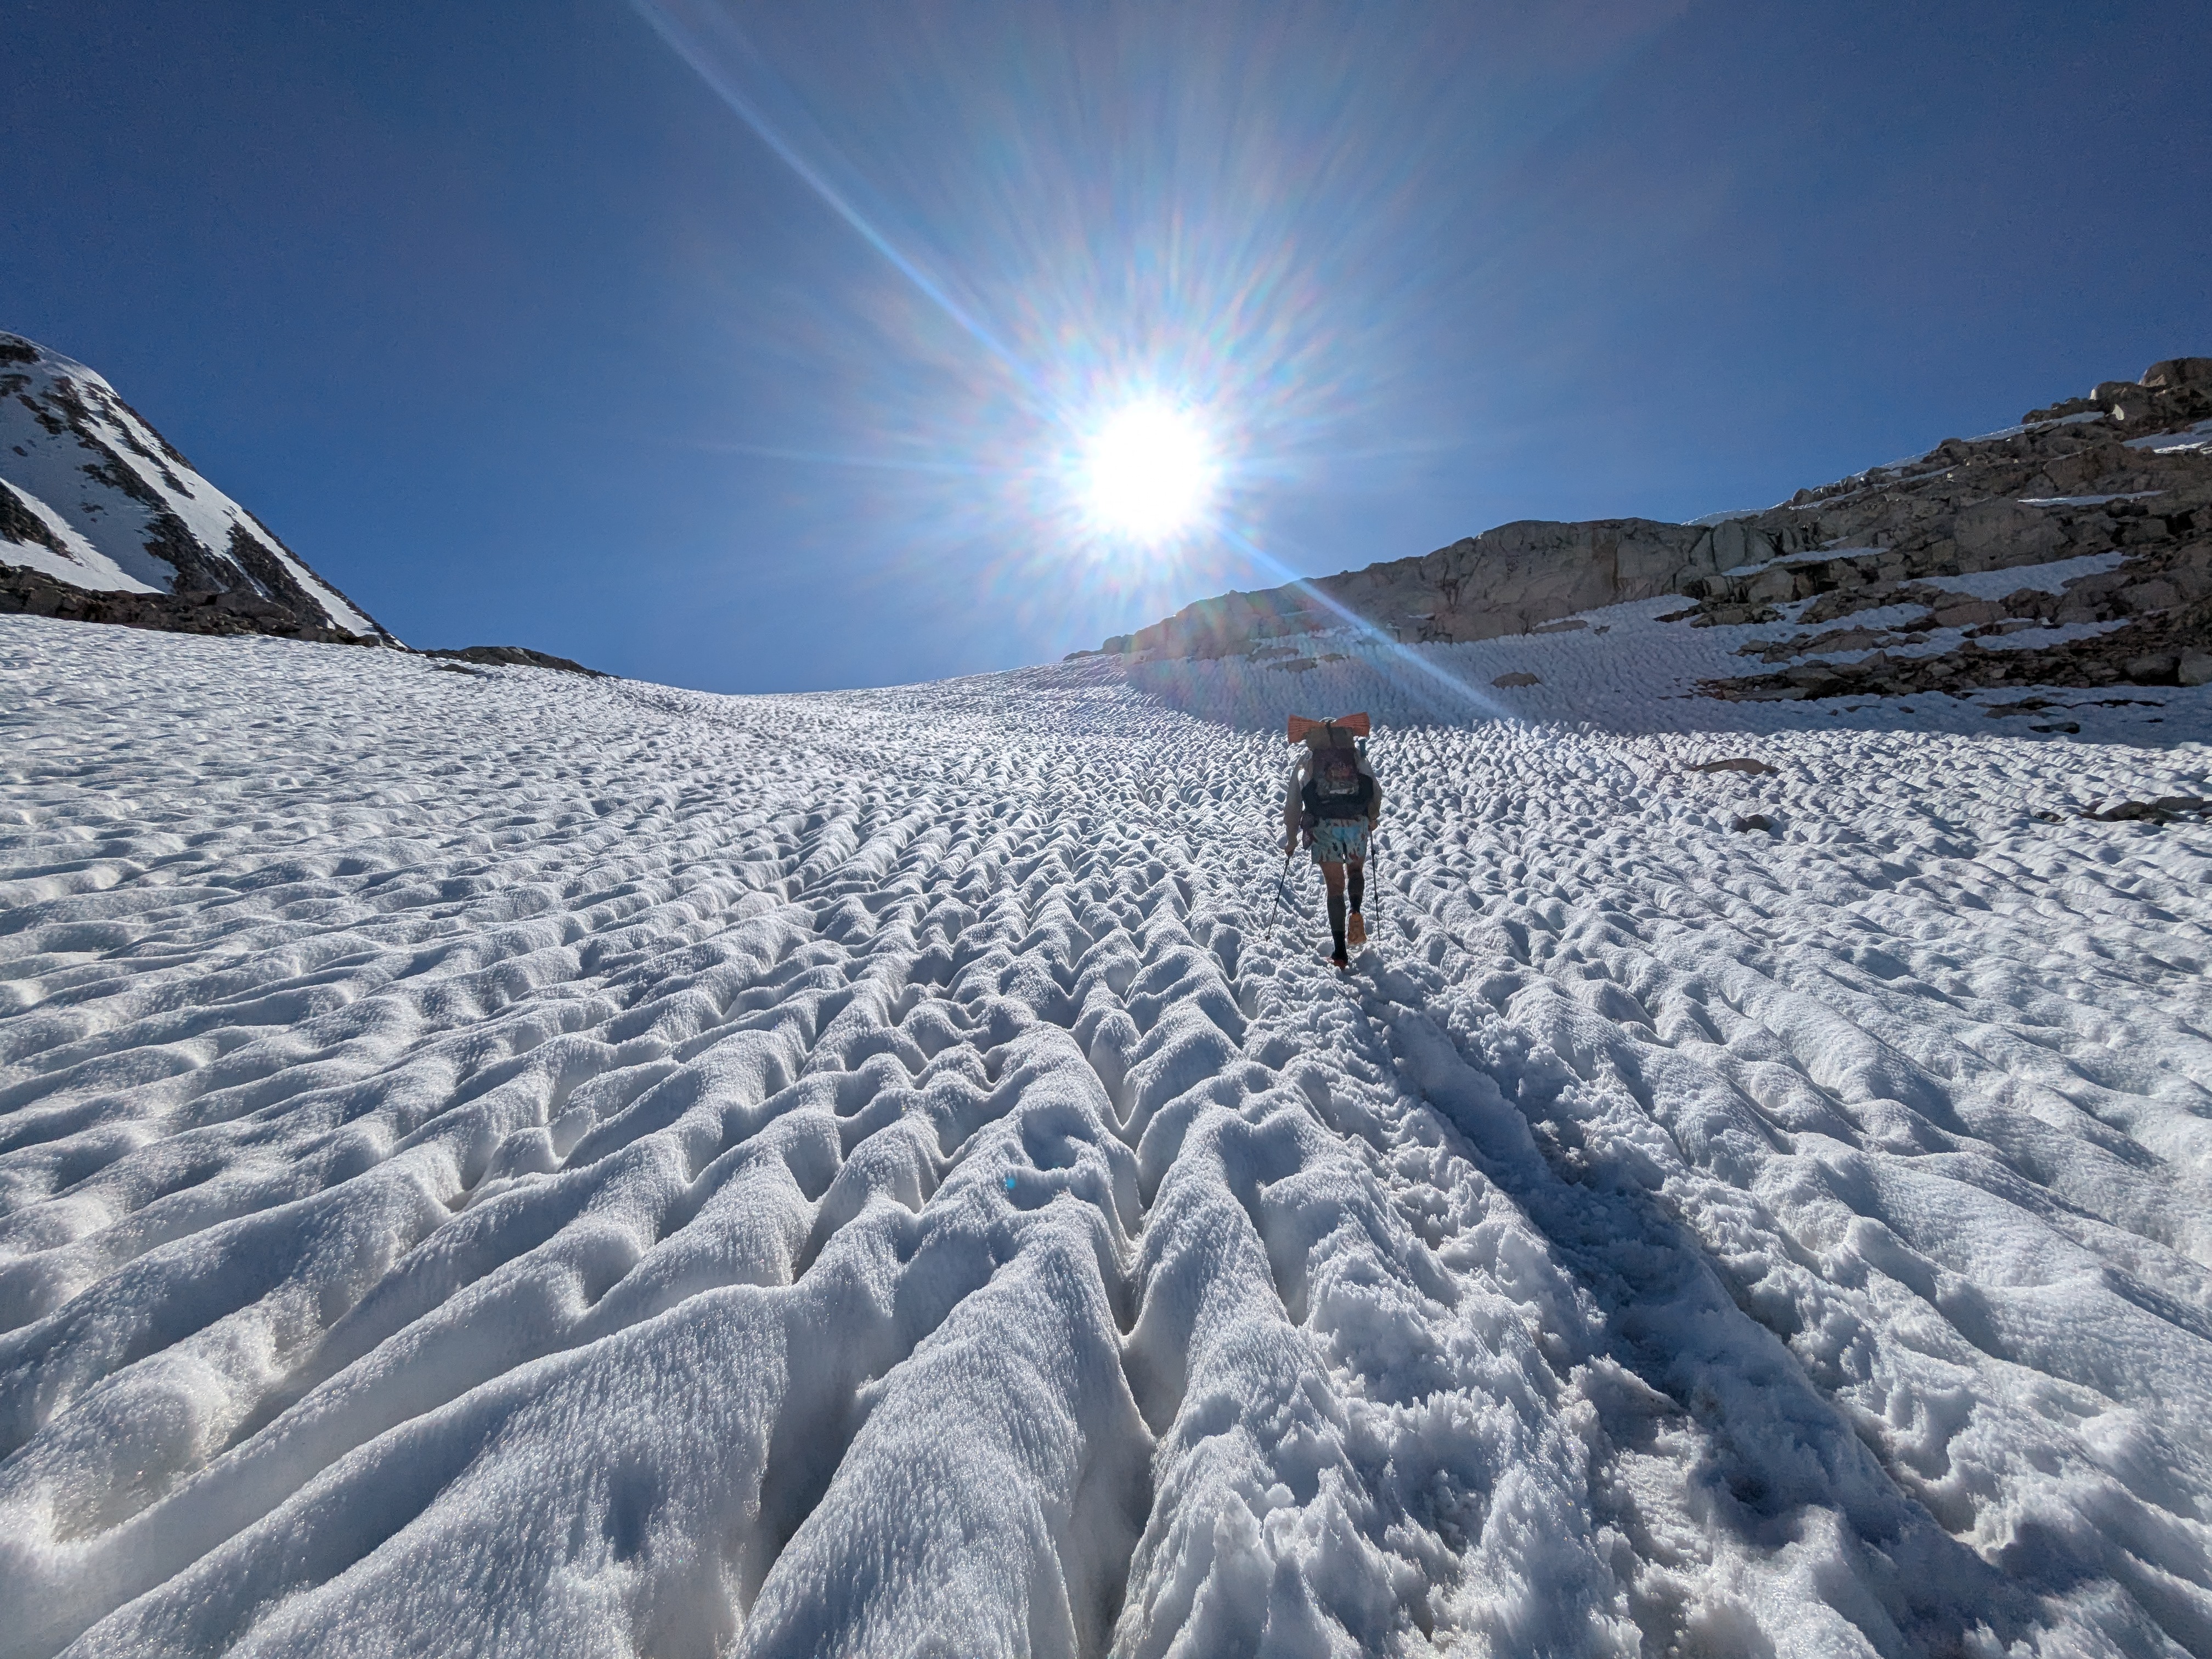
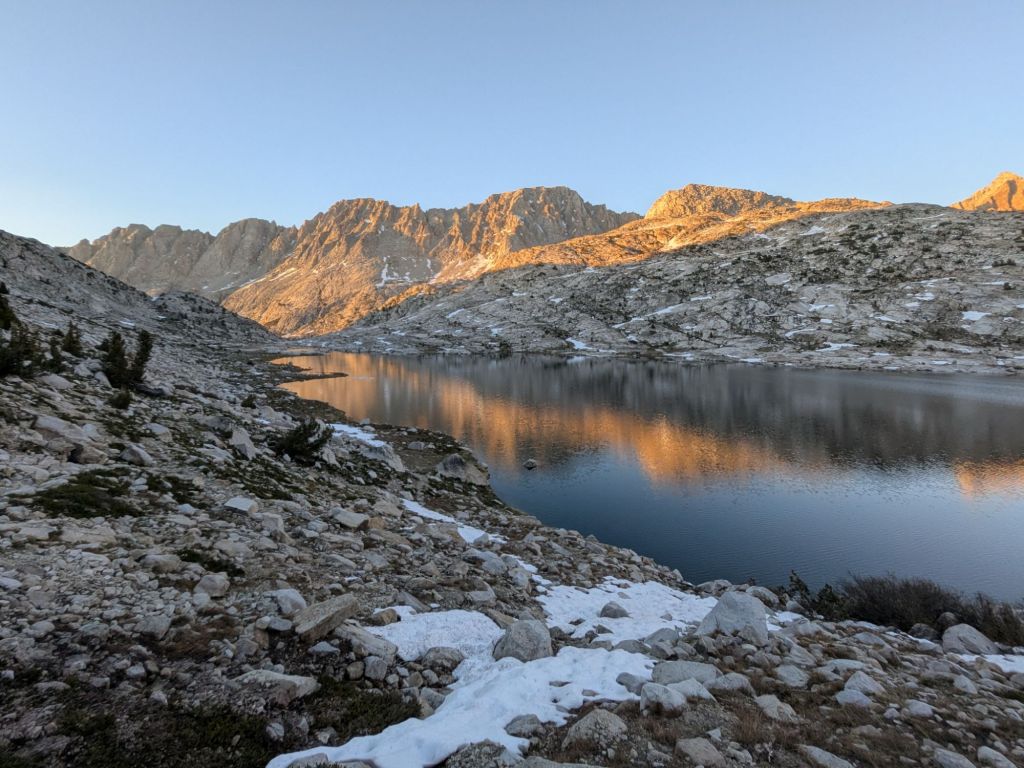
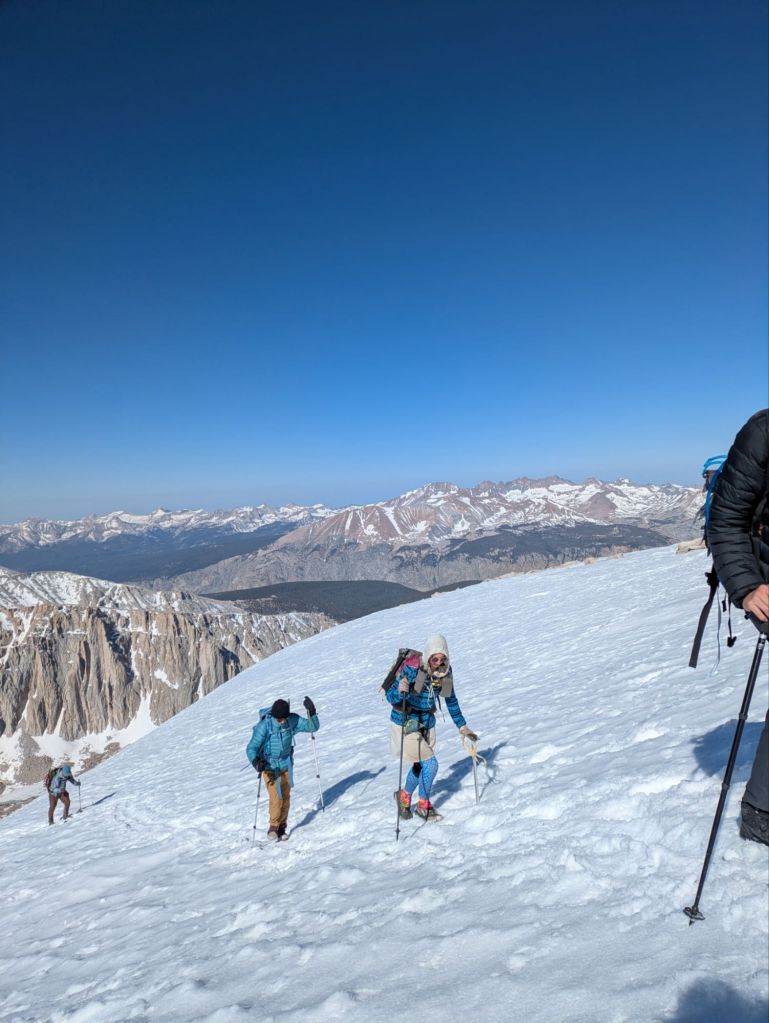
With my June 6th Sierra entry date, there was a “fun amount” of snow on most of the passes and on Mount Whitney. However, a lot of snow had already melted, so I wasn’t post-holing all day. The longest I walked on snow continuously was maybe 2 or 3 miles on Muir Pass. Furthermore, the creek crossings weren’t too bad either. Based on the anecdotes of my friends who entered the High Sierra just one week before me, it seems conditions improved rapidly. They experienced higher water crossings and more snow on the passes. Or perhaps they embellished their stories, as all of us thru-hikers tend to do. Who knows.
Gear
I added 4 key pieces of gear to my pack for the High Sierra. I shipped all these items to Grumpy Bear’s at Kennedy Meadows South (mile 703). I sent different items home at different times, which I explain in the “sending gear home” section of this post.
Please note that the gear discussed below is limited to things I added specifically for the High Sierra. You can read about my full PCT gear list here.
Ice Ax
I used my Black Diamond Raven Ice Ax. I chose this one mainly because it was the ice ax I already owned. It’s definitely not the lightest option on the market. I debated over buying something lighter, but decided saving a few ounces of pack weight was not worth the cost.
Microspikes
Like many PCT thru-hikers, I brought Kahtoola Microspikes for traction on the snowy passes. I thought they were great and was glad I had them on many occasions.
Bear Canister
I carried a BV500 bear canister – the largest canister Bear Vault makes. This canister just barely fits inside my 36L frameless pack. You can read more about that in my post reviewing my PCT gear.
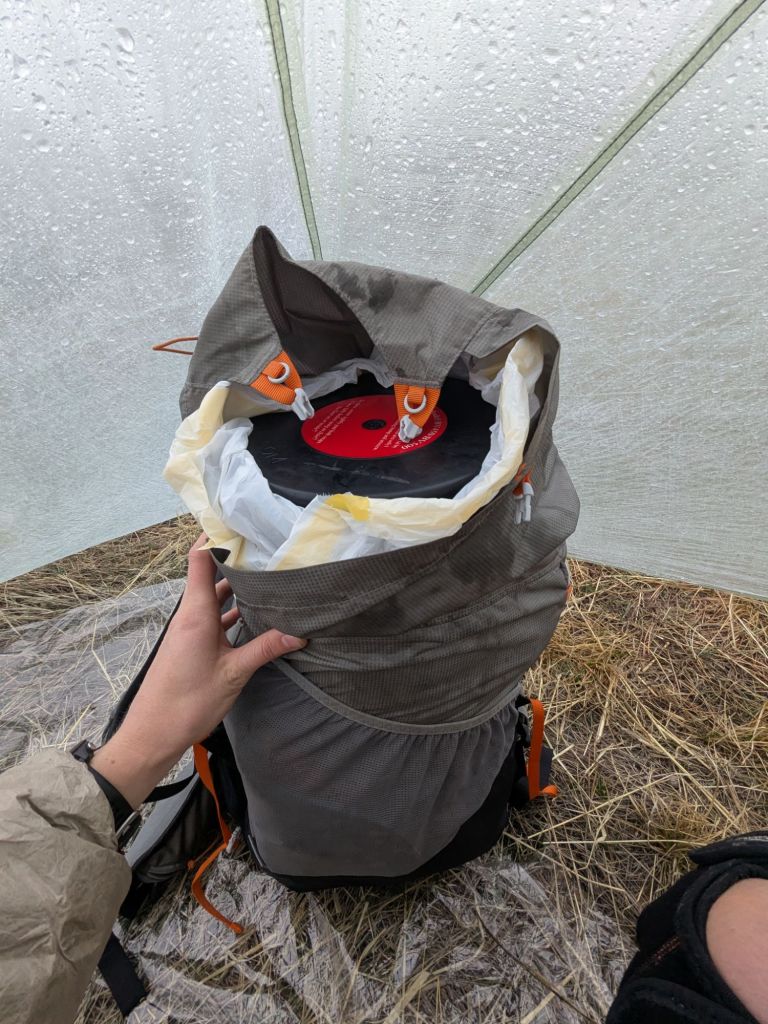
I’m really glad I didn’t use a smaller canister, since it wouldn’t have enough capacity for my food. I was really uncomfortably hungry in the High Sierra, even while using the large canister. This was due to increased hiking intensity going over snowy passes, as well as longer distances between resupply points.
By the time I reached Mammoth, I was suffering from pretty bad brain fog and lethargy due to insufficient calories. Fortunately, I was revived instantly when I ate a feast of town foods in Mammoth (including a dozen doughnuts, a tub of hummus, and a pound of ground beef). You can read more about that particular misadventure in this post from my PCT trail journal.
Later on, I found out that many hikers packed extra food outside of their bear canister, since they couldn’t fit enough food inside. After (possibly literally) starving in the High Sierra, I definitely understand why this was necessary. I also suspect it negates the benefits and purpose of using a bear canister at all. Personally, I wouldn’t want to try to explain this to a ranger (or a bear).
Were I to hike the High Sierra again, I would try to carry more calorie-dense foods. That means more peanut butter, nuts, seeds, and oils, and fewer carb-based snacks. I would consider resupplying more frequently to reduce the problems related to bear canister capacity. I’ll get more into that in the “Resupply” section of this post.
Extra Layer
Since the Sierras are higher in elevation than the desert, they are colder, especially at night. I added one extra layer for warmth: a lightweight crew-neck fleece shirt. This was in addition to the puffy jacket and base layer set I already carried. In hindsight, even more layers could have helped in the Sierras. But more than layers, I craved a sleeping bag liner. I was often chilly at night in my 20-degree Enlightened Equipment Quilt.
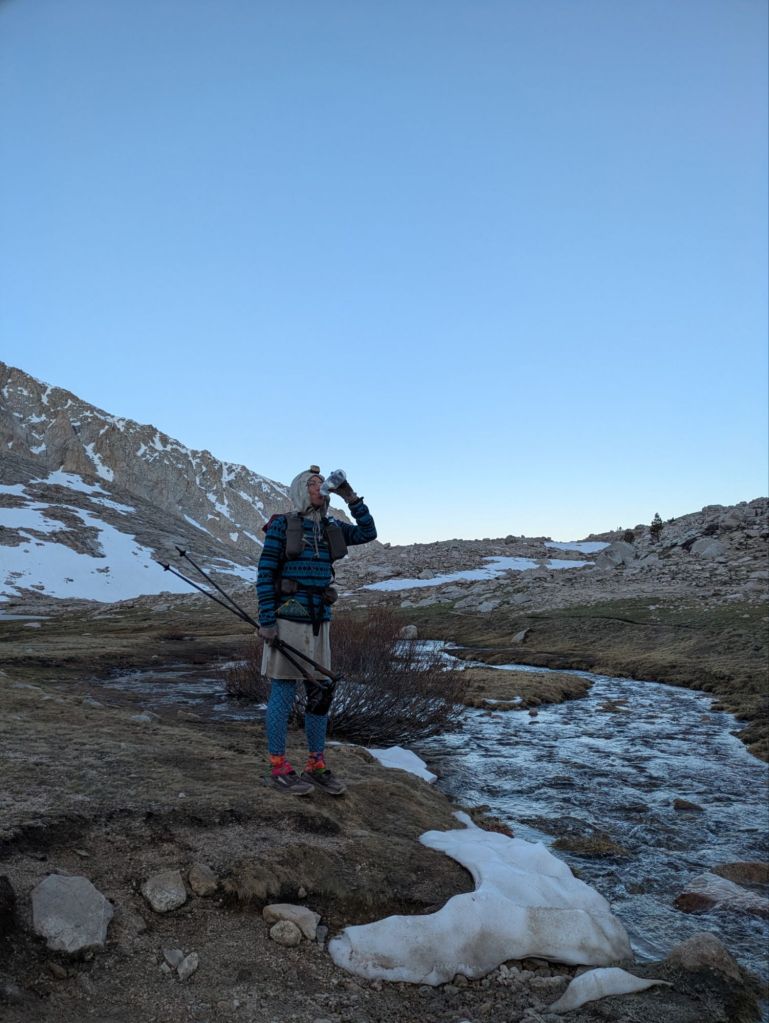
That said, there are other things I could have done to stay warmer at night. I got in a rhythm of doing passes in the evening, then camping just after them (more on that in the section on the passes below). Consequently, I often camped really high (~10,000 feet). A few times, I even woke up with frozen shoes! A simple solution to my nighttime chilliness is descending lower into the valleys to camp, where temperatures are higher.
Resupply
For full information about my overall resupply strategy, you can read my posts about everywhere I resupplied on the PCT and preparing boxes for the Pacific Crest Trail. To summarize, I resupplied in the following locations in the Sierras:
- Kennedy Meadows South – Mile 703
- Shopped at Triple Crown Outfitters
- Distance to next resupply: 112 miles (87 miles + 17 miles for Mt Whitney + 8 mile side trail)
- Independence, CA via Kearsarge Pass side trail – Mile 790
- Mailed a box (general delivery)
- Distance to next resupply: 126 miles (114 miles + 8 mile side trail + 4 mile side trail)
- Mammoth Lakes, CA via Mammoth Pass side trail – Mile 904
- Shopped at the supermarket
- Distance to next resupply: 44 miles (40 miles + 4 mile side trail)
- Tuolumne Meadows Post Office – Mile 944
- Mailed a box (general delivery)
- Distance to next resupply: 74 miles
- Kennedy Meadows North Pack Station – Mile 1018
- Shopped at the pack station store
- Distance to next resupply: 74 miles
- South Lake Tahoe – Mile 1092
- Shopped at the supermarket
- Distance to next resupply: 105 miles
As I mentioned before, I was really hungry in the High Sierra when my food was limited by the capacity of my bear canister. I could have done better with my resupply strategy. I think the main problem was back-to-back 112-mile and 126-mile hauls at the start of the High Sierra. Covering 100+ mile distances between resupplies is not inherently problematic. However, these stretches contain the hardest parts of the Sierras. I was using way more energy climbing passes and hiking on snow. I didn’t realize just how much more food I needed each day to account for that.
With some extra effort and logistics, I could have added more resupply stops to split up the long hauls. For example:
- Lone Pine, CA via Cottonwood Pass side trail – Mile 746
- Vermillion Valley Resort via Bear Ridge side trail – Mile 880
Going into Lone Pine would split the long distance between Kennedy Meadows South and Independence into two shorter hauls. I skipped Lone Pine because it is a bit out of the way. Getting there adds some distance and time. To reach Lone Pine, it’s an extra 4-ish miles on a side trail followed by a 20-mile hitch.
Vermillion Valley Resort (VVR) is only about a day before the Mammoth Lakes Resupply point. They charge a $40 fee to hold a package and also sell restaurant food. It is located down a 7-mile side trail, though hikers can get there via a different 1.5-mile side trail if they take a ferry across a lake ($20 each way).
Before my thru-hike, if you asked me whether I’d dish out the money and time for a stop at VVR I’d have said “no way!” But now, I’d say “maybe?”. An extra day of food, heck, even a restaurant meal, makes a big difference in the High Sierra. I’d probably walk the 7-mile side trail one way and take the ferry the other way to save a little money. I’d definitely pack out some restaurant food.
Another resupply option is Muir Trail Ranch (mile 859). I was hungry enough that I actually took the short side trail down to Muir Trail Ranch, hoping to raid their hiker box for some extra food. However, they were not open for the season yet. When they are open, they charge $115 to hold hiker packages.
The Passes
In the High Sierra, I typically hiked between 0 and 2 passes per day. Below, I’ve compiled a list of the passes, dates, and the mileage I hiked each day.
- June 5: 10 miles, no passes, resupply at Kennedy Meadows
- June 6: 29 miles, no passes
- June 7: 33 miles, no passes
- June 8: 22 miles (including Mt Whitney)
- June 9: 18 miles, Forester Pass
- June 10: 7.5 miles (including side trail), Kearsarge Pass, resupply in Independence
- June 11: 18 miles (including side trail), Kearsarge Pass, Glen Pass
- June 12: 20 miles, Pinchot Pass, Mather Pass
- June 13: 24 miles, Muir Pass
- June 14: 20 miles, no passes
- June 15: 28 miles, Seldon Pass, Silver Pass
- June 16: 16 miles (including side trail)
- June 17: Zero and resupply in Mammoth Lakes
- June 18: 9 miles (including side trail)
- June 19: 23 miles, Island and Donahue Pass
- June 20: 21 miles, no passes, resupply at Tuolumne Meadows
- June 21: 24 miles, Benson Pass, Seavey Pass
- June 22: 28 miles, Dorthy Lake Pass
- June 23: 11 miles, Sonora Pass, resupply at KMN Pack Station
- June 24: 19 miles, no passes
- June 25: 25 miles, no passes
- June 26: 15 miles, Carson Pass
- June 27: 14 miles, no passes, resupply in South Lake Tahoe
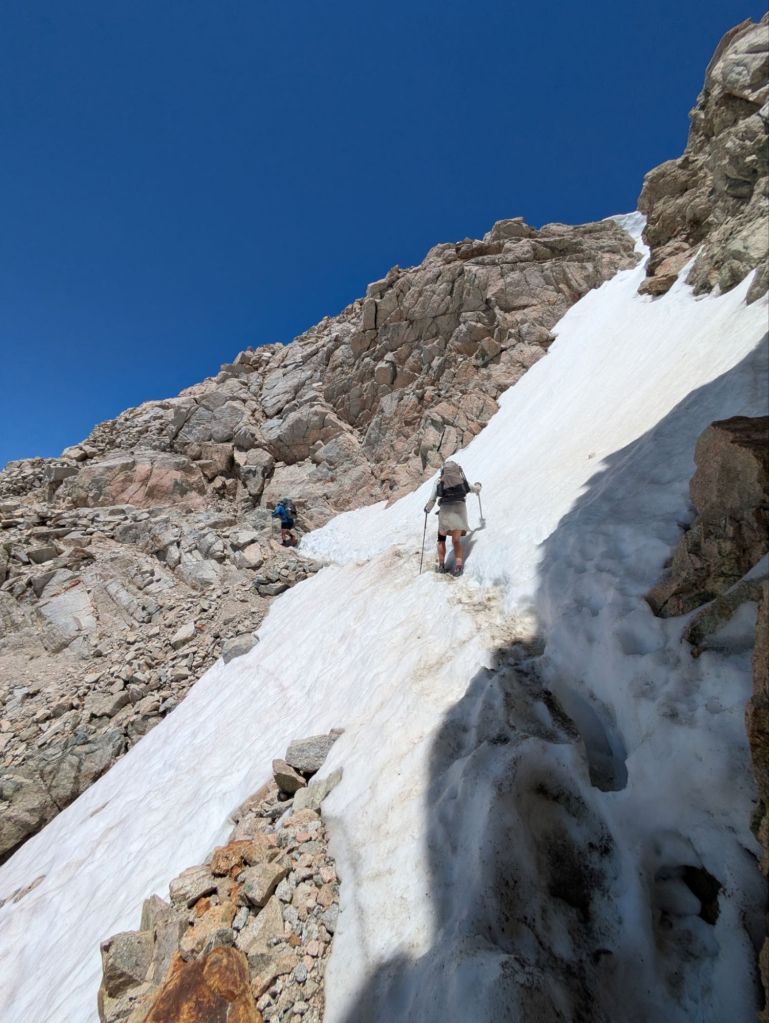
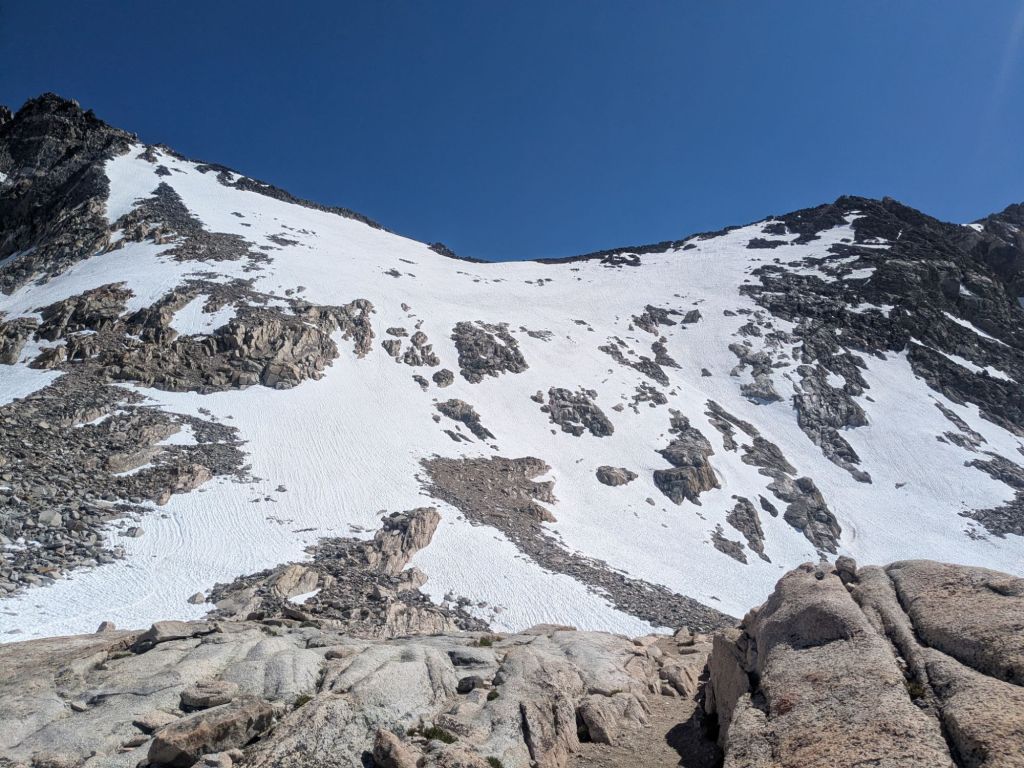
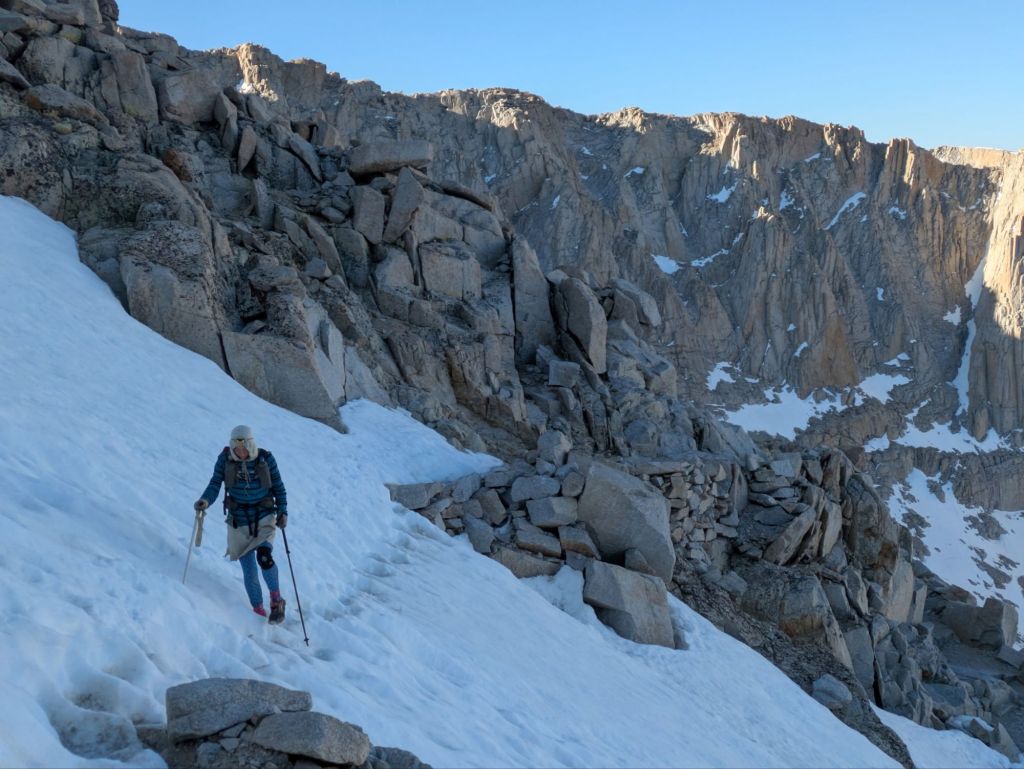
Personally, I found Glen and Forester Passes to be the most challenging, due to their large and steep snowfields. Mather Pass was also hard work. But that was because I took a slightly spicy off-trail route through a boulder field to avoid walking through snow.
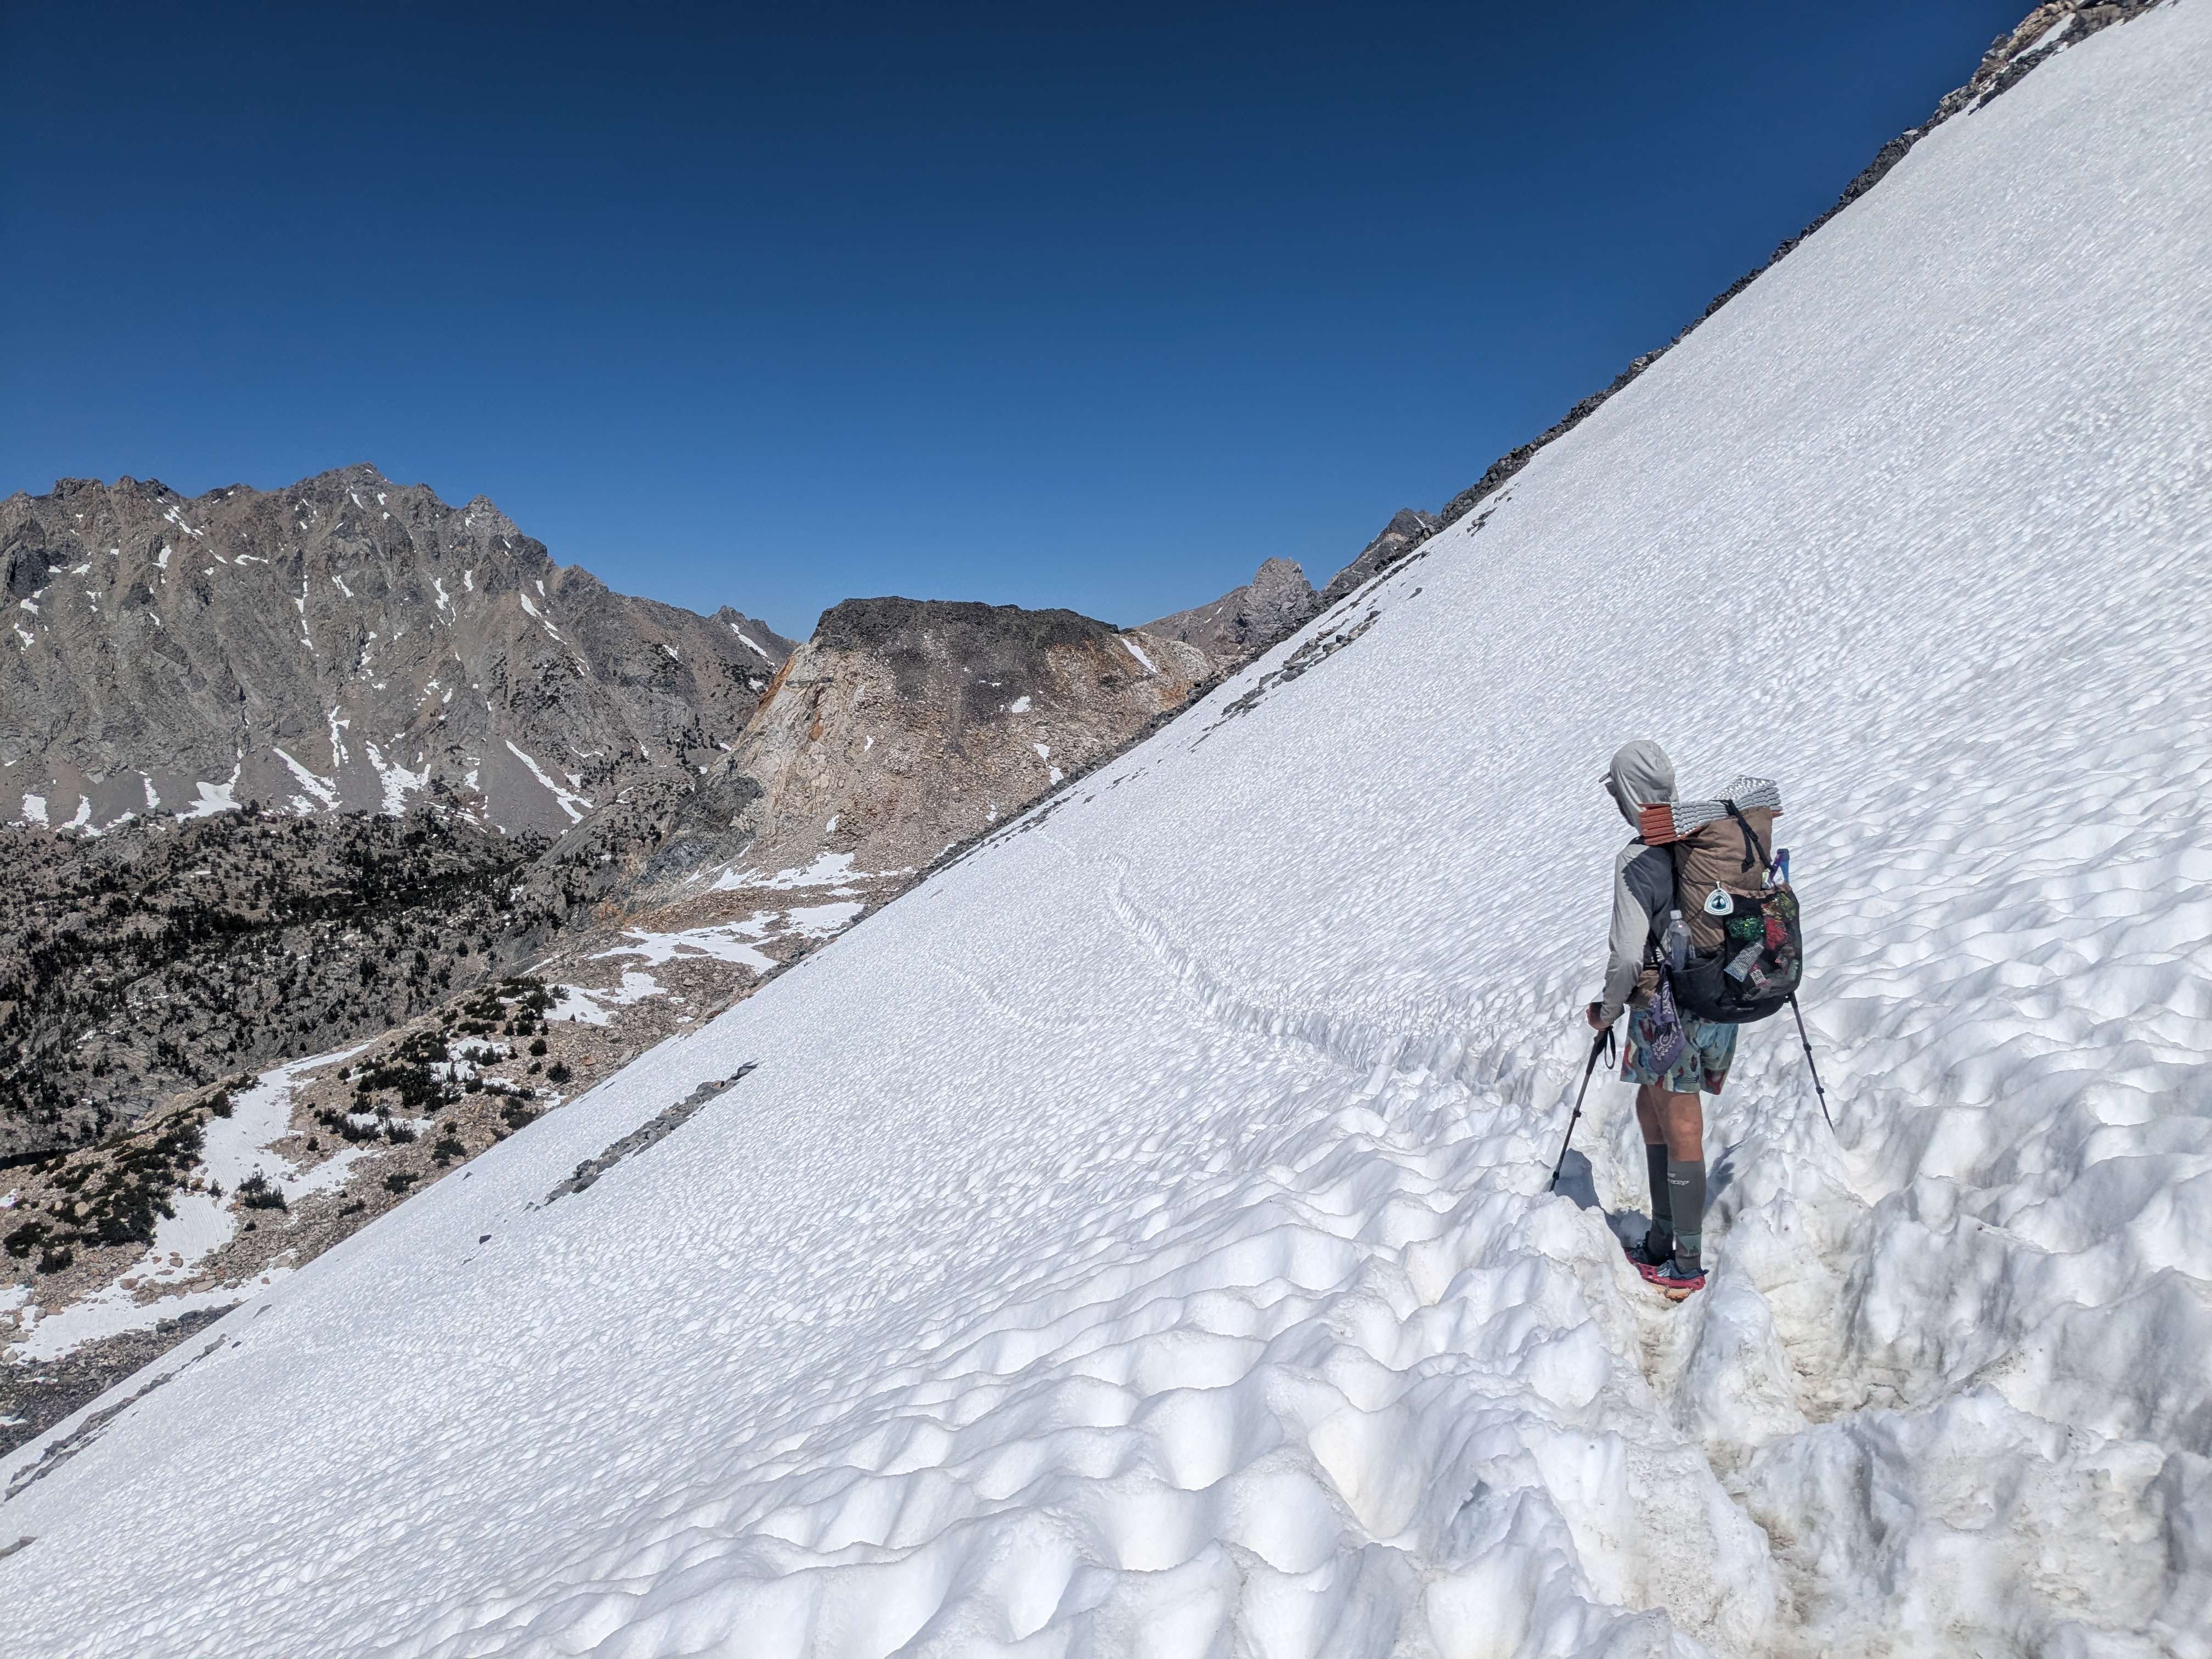
I got into a rhythm hiking passes in the late afternoon. In this, I deviated from the popular schedule of hitting passes early in the day. Many hikers feel that the passes are easier when the snow is hard and icy in the early-morning low temperatures. They camp right before a pass, rise early, hit the pass, hike down, set up camp before the next pass, and then go to bed early.
I actually felt safer hitting the passes when the snow was a bit softer and less icy in the afternoon. And honestly, the post-holing was rarely bad. But to each their own.
When I hit a pass in the late afternoon, I camped shortly after the pass, often quite high. Typically, my hiking partner and I were alone, since most folks camped before the pass. There’s nothing like having a whole valley in the Sierra Nevada to yourself! In the mornings, I began each day with a nice sleep-in followed by a downhill hike. I often was still cozy in my sleeping bag when all the morning people cruised by, shaking their heads.
Water Crossings
I think I got lucky with the water crossings in the High Sierra. None of them was as bad as I’d envisioned. Even at Evolution Creek, the crossing I was most apprehensive about, the water only came up to my knee. I know these crossings can be much harder when the streams are fuller.
I suspect I entered the High Sierra after the peak runoff from snowmelt. As a former hydrogeology student, I’d love to get my hands on the hydrographs for these streams!
A few crossings were tricky but manageable. On several occasions, I used a stacked formation with my hiking partner to get across the deepest and fastest-flowing crossings. For this, both people cross facing upstream and sidestep across the river. One person stands directly behind the other and holds onto the front person from behind. The front person uses their trekking poles for balance and shields the back person from the force of the water. In turn, the back person can help steady the front person. I think this method works well.

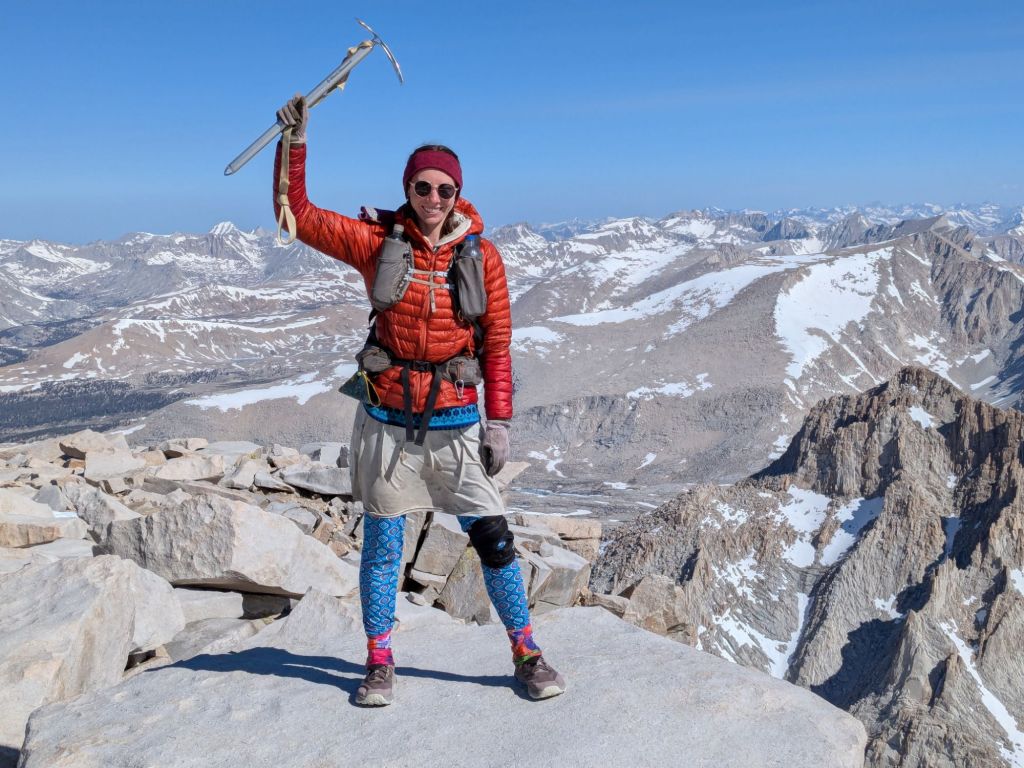
Mount Whitney
Mount Whitney is not on the Pacific Crest Trail. It’s a 17.4-mile side trip from the PCT with ~4,000 feet of elevation gain. That sounds like a lot, but the standard route from the Whitney Portal Trailhead is even longer – 22 miles with over 6,000 feet of gain. Furthermore, climbing Whitney via the standard route requires some luck – permits are awarded through a lottery system.
Since the PCTA long-distance permit covers the side trail to Whitney, many thru-hikers seize the opportunity to climb it. I didn’t want to miss my chance to stand atop the tallest peak in the lower 48!
I didn’t know much about Mount Whitney before climbing it. Embarrassingly, I didn’t even know where Mount Whitney was located. Turns out, it is only 60-some miles past Kennedy Meadows South. Northbound hikers reach the side trail to Whitney before they climb any of the major passes, like Forester or Mather. So Whitney was the first place where my snow skills were put to the test.
Most thru-hikers camp near the side trail to Mount Whitney the night before climbing it. That means hikers need to divide the 60 miles between Kennedy Meadows and Mount Whitney into four 15-mile days, three 20-mile days, or two 30-mile days.
I hadn’t done the math when I left Kennedy Meadows campground on the morning of June 6th. Mostly by accident, I ended up hiking two 30-ish mile days to position myself for Whitney. These aren’t easy miles either. There’s a lot of elevation gain as the trail climbs out of the desert and into the Sierras. So my first few days in the High Sierra were definitely a big effort.
However, I’m glad I moved quickly. I had crazy hiker hunger, and I didn’t have enough food for an extra day or two. If I did this section again, I might add the resupply stop in Lone Pine, as I mentioned previously. Or I might just fly through it again.
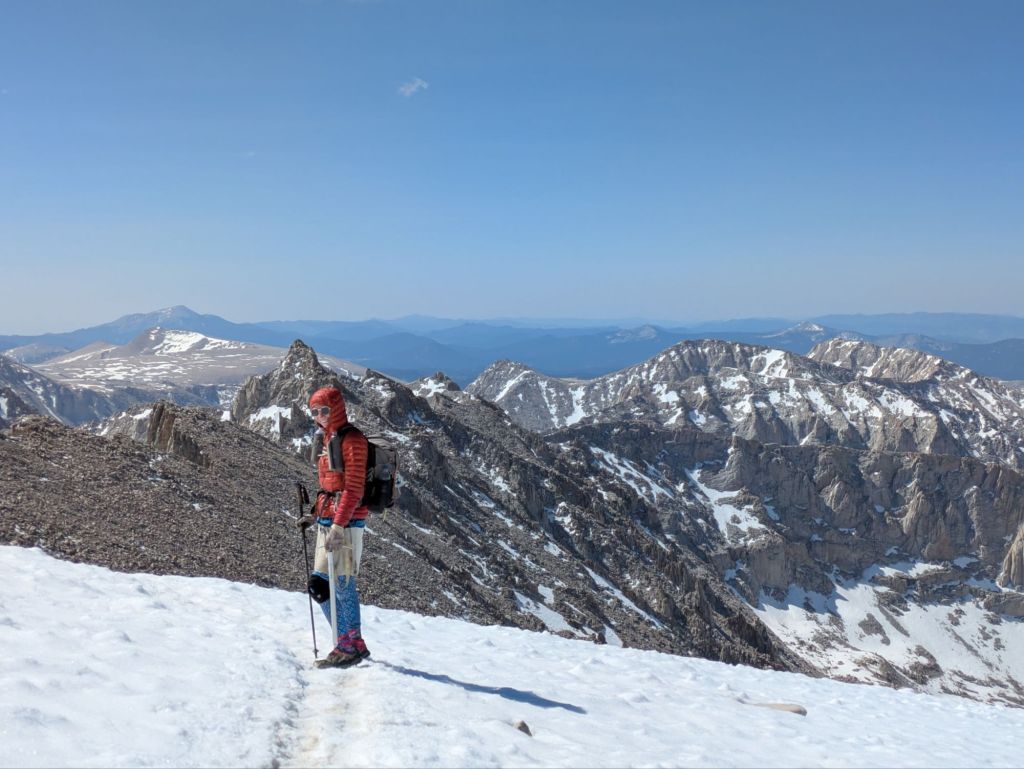
The climb up Whitney was a challenging hike. Many hikers begin in the middle of the night to try to catch sunrise from the top. I opted for more sleep. I started up the mountain around 4 am, and it took me over 5 hours to hike the 8.7 miles to the top.
You can read more about my experience entering the High Sierra and climbing Mount Whitney in my PCT Trail Journal.
Sending Gear Home
I sent my Sierra-specific gear home from various places. This included my ice ax, microspikes, bear canister, and extra layer. I sent each item home once I could hike safely and comfortably (and legally) without it.
Ice Ax
I carried my ice ax for about 200 miles from Kennedy Meadows South (mile 703) to Mammoth Lakes (mile 904). I was glad I had my ice ax on Mt. Whitney, Forester Pass, Glen Pass, Pinchot Pass, Mather Pass, and Muir Pass. I used my ice ax to self-belay (use as a handle). I never had to use it for a self-arrest (stopping a fall). I left my ax attached to the outside of my pack on Selden and Silver Passes, which had very little snow left when I did them.
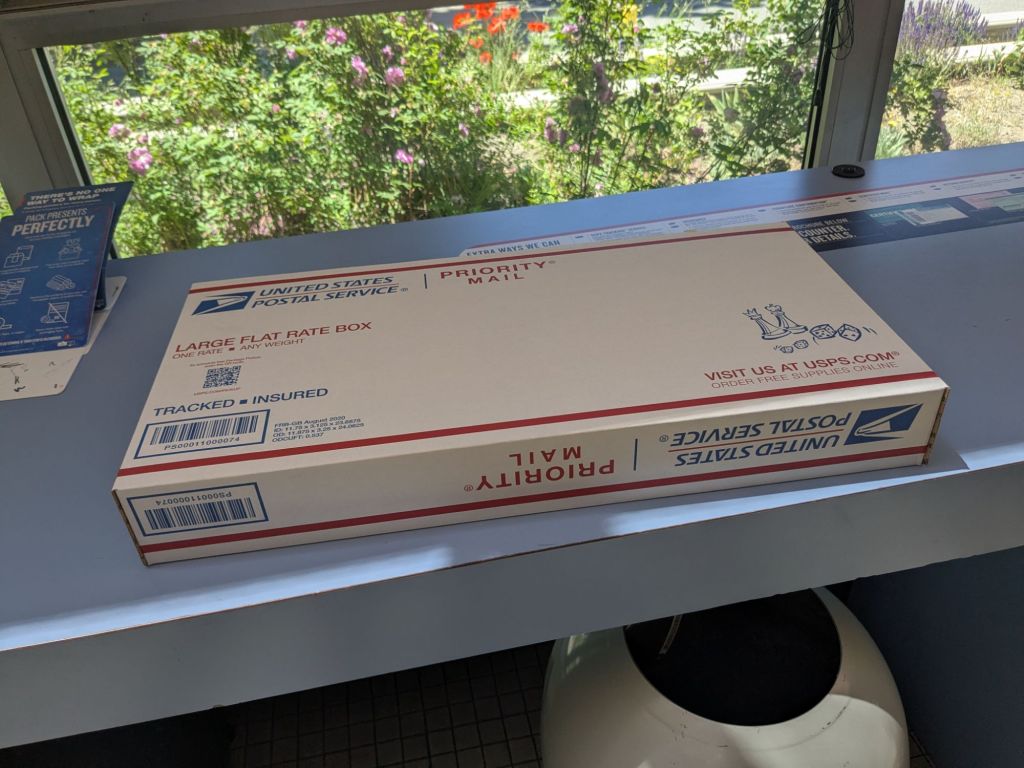
After Selden and Silver Passes, I decided that I was ready to send my ax home, since all the remaining passes were no higher than Selden and Silver. I was pleased to find that the Mammoth Post Office carried flat-rate ice ax-sized boxes in 2025. I later learned that this box size was designed for mailing board games. It was discontinued by the U.S. Postal Service, so I felt extra lucky that the Mammoth Post Office still had this size box on hand!
Overall, I’m pretty happy with my choice to mail my ice ax home from Mammoth. Donahue Pass and Yosemite National Park were mostly snow-free. However, I encountered quite a bit of snow just before and after Sonora Pass (mile 1018). I probably would have used my ax to self-belay in one or two spots if I still had it. It would have saved me from some annoying route finding through steep, loose rocks to get around a particularly long/steep snowfield.
All that said, I don’t think there’s one right place to mail an ice ax home in the High Sierra. It depends so much on the snow conditions and one’s personal risk tolerance. I know hikers who carried their ice ax all the way to South Lake Tahoe (mile 1092). I know at least two thru-hikers who did not carry an ice ax for any of the High Sierra. Each person must decide what they are comfortable with and willing to risk.
Micro Spikes
I held onto my microspikes longer than my ice ax. I sent them home from South Lake Tahoe (mile 1092). I’m happy I kept them that long. I used my spikes on Sonora Pass and Carson Pass, shortly before South Lake Tahoe. Many hikers sent theirs home from Kennedy Meadows North (mile 1018). It’s definitely a personal preference thing.
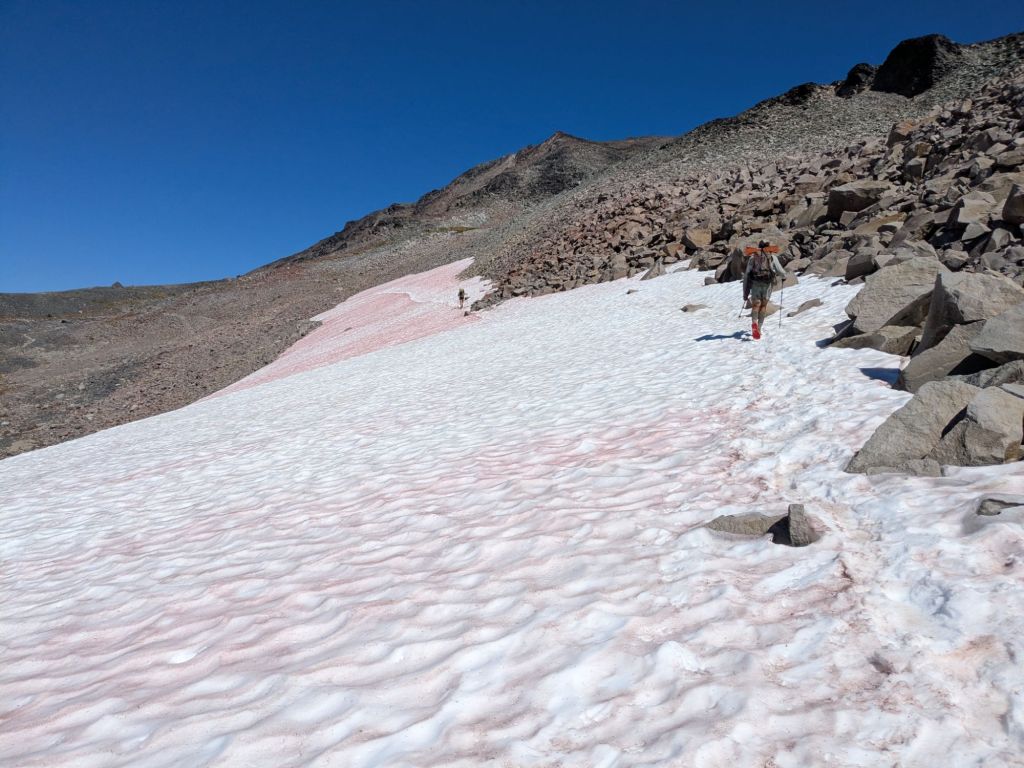
I continued to see small patches of snow all the way through Nor Cal, Oregon, and Washington. But they were generally short patches and not steep enough for me to want spikes. The longest snow patch I encountered north of South Lake Tahoe was in the Goat Rocks Wilderness in Washington. Fortunately, there was a well-worn-in boot track through the snow.
Bear Canister
I sent my bear canister home from South Lake Tahoe (mile 1092). I didn’t mail it earlier from the Kennedy Meadows North Pack Station (mile 1018) because shipping from there was more expensive.
I should note that there are parts of the PCT that require bear canisters north of South Lake Tahoe. For example, immediately after South Lake Tahoe, there is a ~28-mile stretch through Desolation Wilderness that requires bear canisters for overnight camping. I avoided the requirement by hiking across the whole Desolation Wilderness in a day and camping outside the wilderness boundary.
Some hikers find bear canister regulations frustrating and arbitrary. After all, bears don’t stay in the areas where bear canisters are required. (Though wouldn’t it be convenient if they did?) Even so, food storage regulations exist to protect bears. Bears that get a taste of human food become campsite pests and are killed. A ranger I spoke to just outside of Kings Canyon National Park told me that bear-human conflict used to be a bigger issue in the High Sierra. However, she said it had become less and less common since the food storage regulations were put in place.
Extra Layer
In South Lake Tahoe, I also sent home the extra fleece shirt that I added for the High Sierra. A few days later, I passed through Sierra City on the 4th of July, and it was downright balmy! From there on out, I was pretty hot, even at night sometimes. Things stayed pretty toasty until my final week in Washington. Early September definitely brought some fall weather to the North Cascades.
And that’s a wrap. I hope you found this deep dive into the High Sierra of the PCT entertaining and informative. What questions do you have about the High Sierra? What did you find surprising?

Leave a comment