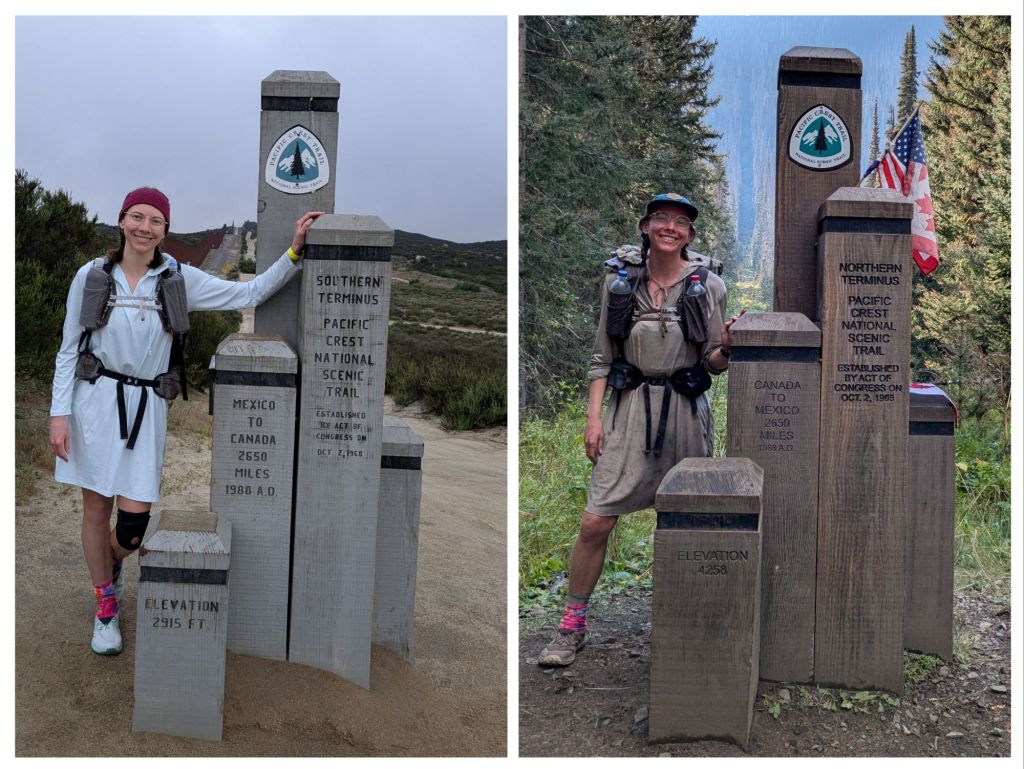
In 2025, I thru-hiked the Pacific Crest Trail. Before starting, I wrote a post about everything I planned to pack to get me through 4 months of walking through deserts, mountains, snow, lava fields, and forests.
In this post, I’m reviewing everything I brought with me. I’ll share what held up and what didn’t, what worked for me, what I disliked, and the changes I made along the way.
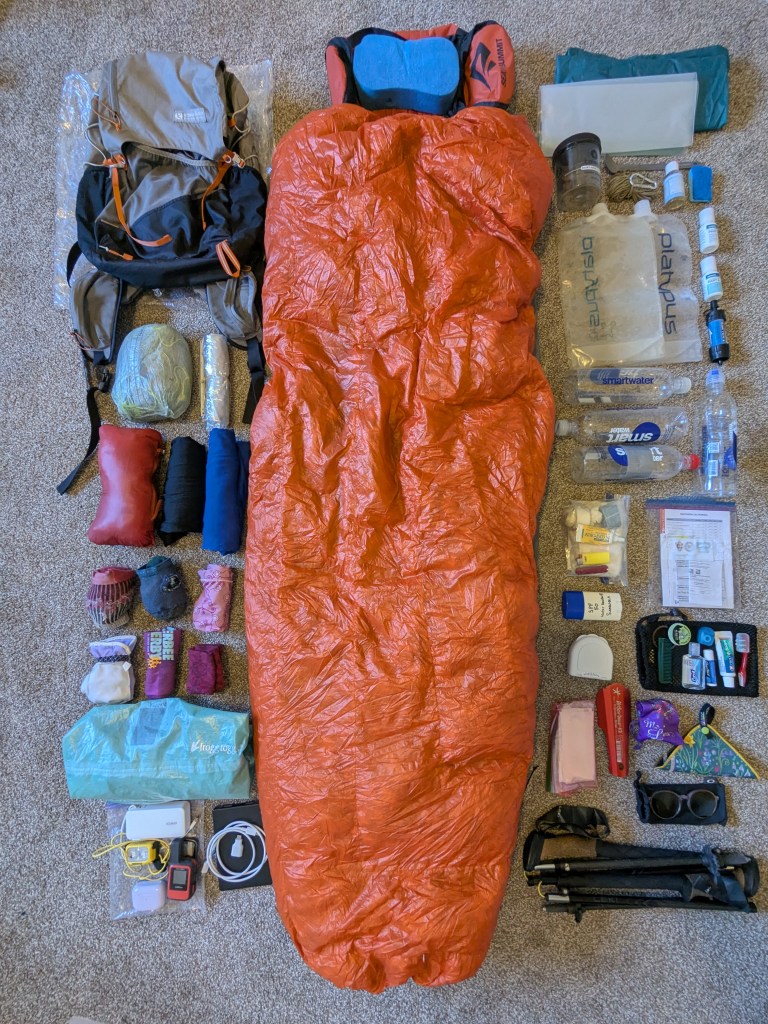
Big 4 & Related Accessories
Backpack: Gossamer Gear Fast Kumo 36L Fastpack
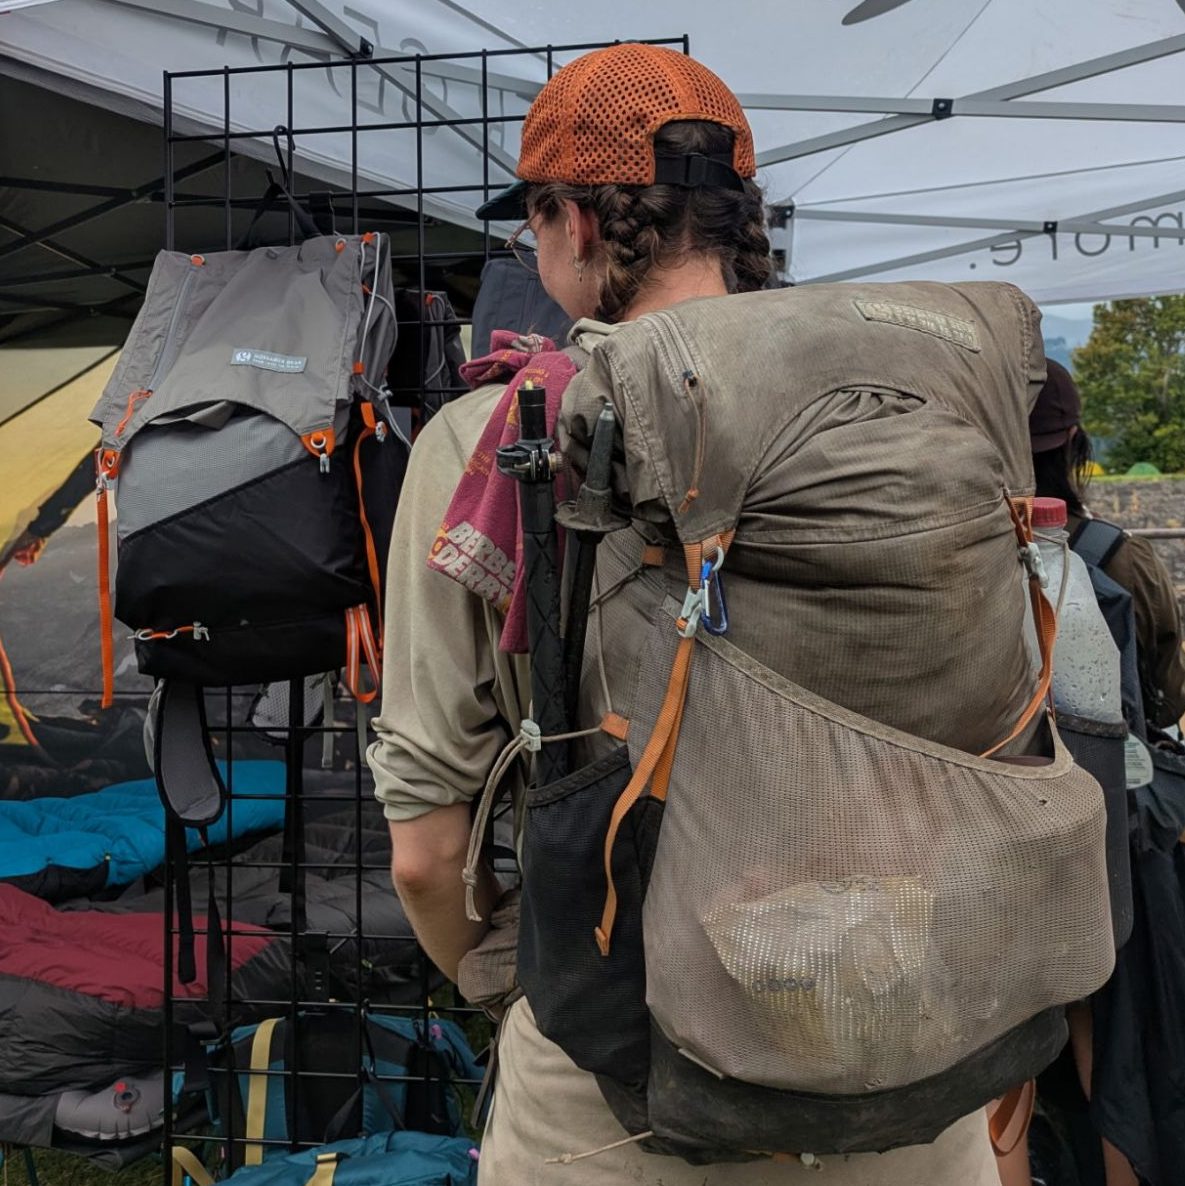
I liked the Fast Kumo pack for the Pacific Crest Trail, even though it’s not necessarily designed as a thru-hiking pack. Here are some of the things I liked and didn’t like about it:
- Capacity: After finishing the trail, I think 36 L is as small as I’d ever want to go for a thru-hiking pack. While I didn’t necessarily need more capacity, it might have been nice to carry bulky food items like chips or bread without squishing them.
- Vest straps: I find this style of strap comfortable. I also like the water bottles up front. I think this distributes the weight nicely and makes it easy to hydrate on the go.
- Bear canister compatibility: I carried the BV500 bear canister INSIDE of the Fast Kumo for 400 miles (Kennedy Meadows to South Lake Tahoe). To do this, I put my quilt and tarp in the bottom of the pack. The canister sat upright on top of the quilt, with my puffy, rain jacket, and other soft things shoved down around the sides of the canister. All my other gear went in the external stretchy pocket (toiletries, microspikes, electronics, etc…). This might have been a little insane. I’m not sure I would recommend using the Fast Kumo with a bear canister. But it was possible.
- Frameless w/ pad insert: one of my favorite features is the sleeve along the back to insert a sleeping pad or sit pad. This feature allows the pad to act as a makeshift supportive frame for the pack, but also makes it easy to take out the pad to sit/lie on during breaks. The Fast Kumo comes with a sit pad to go in the sleeve, but I swapped it out for my closed-cell foam sleeping pad (cut down to 8 or 9 sections).
- Comfort: overall, I thought this pack was pretty comfortable. However, I did have some annoying shoulder pain on and off during parts of the hike. It’s hard to say if it was caused by the pack or something else. In all fairness, I sometimes exceeded the recommended 20-pound comfort limit for the Fast Kumo when it was full up with lots of food and water. Heck, on several occasions, I probably went over the 25-pound maximum load when a long water carry overlapped with the start of a long resupply stretch.
- Durability: I thought the Fast Kumo was surprisingly durable for a pack that costs less than $200! This pack lasted me about 3 years, including 1 full thru-hike. Prior to the PCT, I’d used this pack for 2 years, on weekend adventures and short backpacking trips. It was the only pack I used on the PCT, and it made it all the way from Mexico to Canada! However, it doesn’t have enough life left in it for another thru-hike. The outer mesh pockets, in particular, are becoming too holy to use without fear of losing items. Some of the stitching connecting the hip belt to the pack is also deteriorating.
- Price: At just $190, the Fast Kumo is less expensive than many popular thru-hiking pack options. This was a big selling point for me when selecting my frameless pack.
Pack Liner
Since the Fast Kumo isn’t waterproof, I used a pack liner for some added water resistance. I tried several different pack liners throughout my trip.
I started with a Nylofume pack liner, which held up for less than 900 miles before the bottom tore open. Then I switched to a regular kitchen-tall trash bag, which I used for about 1,100 miles (though it was far from waterproof and mostly held together with duct tape by the end of that). For the final ~650 miles of the trail, I used a trash compactor bag, which held up great.
Quilt: Enlightened Equipment Revelation 20-degree
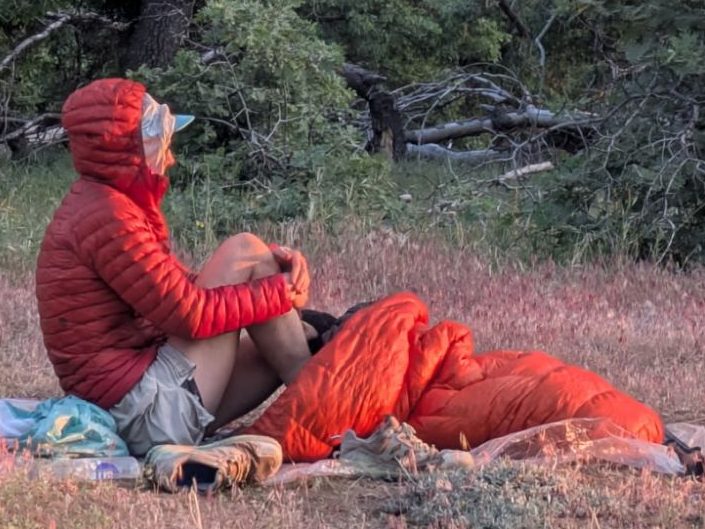
I used one quilt for the entire trail: the Enlightened Equipment Revelation 20-Degree Quilt. This is a 20-degree down quilt, which means it does not zip fully closed like a mummy bag. Instead, it has a partial-length zipper, several snaps and buckles, and a string to cinch it closed below my feet.
Overall, the 20-degree Revelation was adequate, especially considering that I used one quilt for the whole trail. It was a good “medium” quilt – overkill during the hotter times (July/August) and not quite warm enough on the coldest nights (the Sierras in June).
In Cool Weather: Even with my May start date, I was not warm enough on several occasions in my 20-degree Revelation. There were nights in the Sierras when the temperature dropped into the 20s. I think this quilt is only comfortable for me in the mid-30s and above. That said, I survived and wasn’t bothered enough to switch to a different quilt.
In Hot Weather: In contrast, the 20-degree Revelation was more than overkill in mid-summer. While a too-warm quilt may not seem like a problem, it actually caused some issues for me as a tarp/cowboy camper. That’s because, without an enclosed tent, hiding under my quilt is my main form of mosquito protection. So when it was buggy and hot at night, I was sweating under my 20-degree quilt. Some other hikers swapped into summer (e.g., 40-degree) bags or quilts after the Sierras.
Were I to do it again, I might opt for adding a silk sleeping bag liner for the colder portions of the trail. I would consider adding some sort of bug net or bivy for NorCal & Oregon while sleeping atop the quilt in hot weather without getting eaten alive by mosquitoes overnight.
Pad
Started With: Therm-A-Rest Z Lite Sol (9 sections)
Ended With: Nemo Switchback (8 sections)

I used two different closed-cell foam pads on my PCT thru-hike: the Therm-a-Rest Z Lite Sol and the Nemo Switchback. As far as I can tell, neither has any advantages over the other. I only switched because my original pad was 12 years old and didn’t have enough life left in it to see the PCT through to the end. So I was grateful when the opportunity to get a new (free!) closed-cell foam pad presented itself.
I like sleeping on closed-cell foam during thru-hikes, but not everyone does. Foam pads are not as plush as inflatables. However, they are softer than 1/8″ foam mats (these lack the egg-carton texture, which gives mats additional squishiness). I briefly tried a 1/8″ mat and decided it wasn’t for me. So I stuck with a closed-cell foam pad.
Pillow
I carried a car sponge. Each night, I shoved this into a stuff sack along with my rain gear and any other clothes or soft items that I wasn’t wearing to bed to make a “pillow”. I thought this worked as well as any other camping pillow I’ve tried. The sponge made the top of the pillow softer and squishier than simply using balled-up clothes alone. Plus, a car sponge only costs a few bucks and weighs as little as any fancy backpacking pillow.
Shelter: ZPacks Hexamid Pocket Tarp
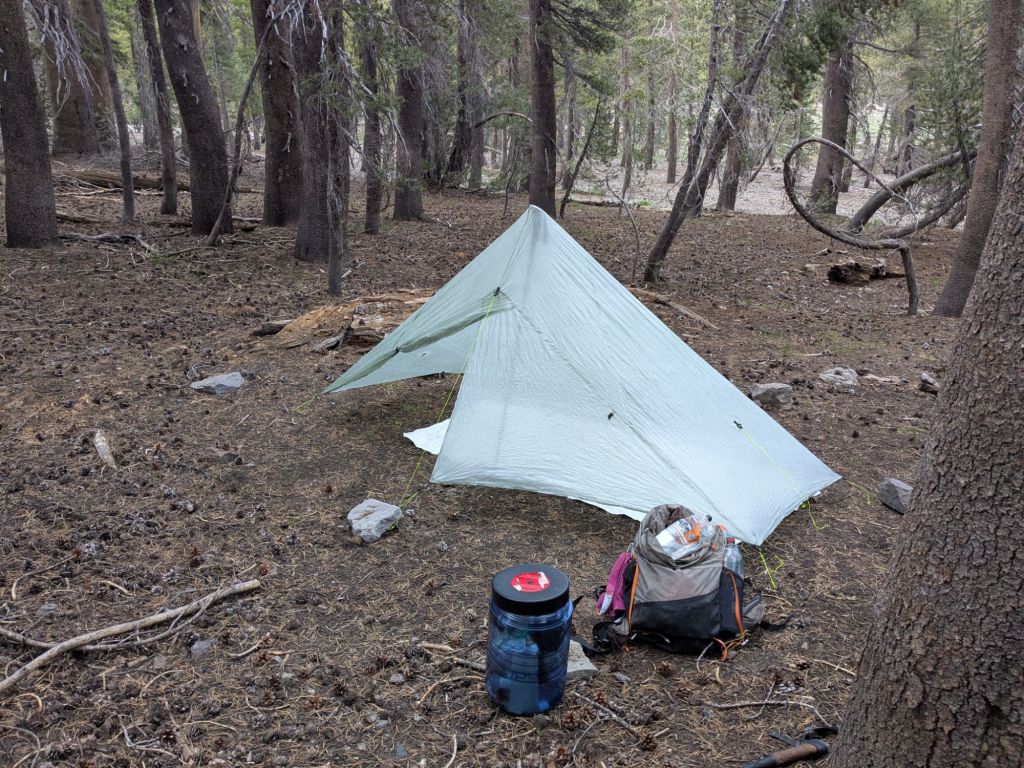
Speaking of fancy pillows… I pretty much used my Hexamid Pocket Tarp as an expensive pillow rather than a shelter. With great weather, I mostly cowboy camped on the PCT, so I rarely set up the Pocket Tarp. However, on the handful of occasions that it rained, I thought the Pocket Tarp held up great and kept me and my gear dry.
I liked the pyramid-like shape of the Hexamid Pocket Tarp because it provided protection from all sides in bad weather. It also provided privacy when I camped in crowded campgrounds a few times. However, it’s not as versatile as a flat tarp. At only 5 oz (not including stakes or groundsheet), it’s hard to beat!
Stakes and Groundsheet
I carried 10 stakes that originally came with a Big Agnes tent (love these, didn’t break any of them!) and a groundsheet that I bought separately.
I started with a polycro groundsheet, which was too flimsy for a long trip like a thru-hike, in my opinion. I put a lot of duct tape on it to make it last the first 900 miles. After that, I switched to a heavier but more durable Tyvek groundsheet, which held up for the rest of the trail.
Clothes in my Pack
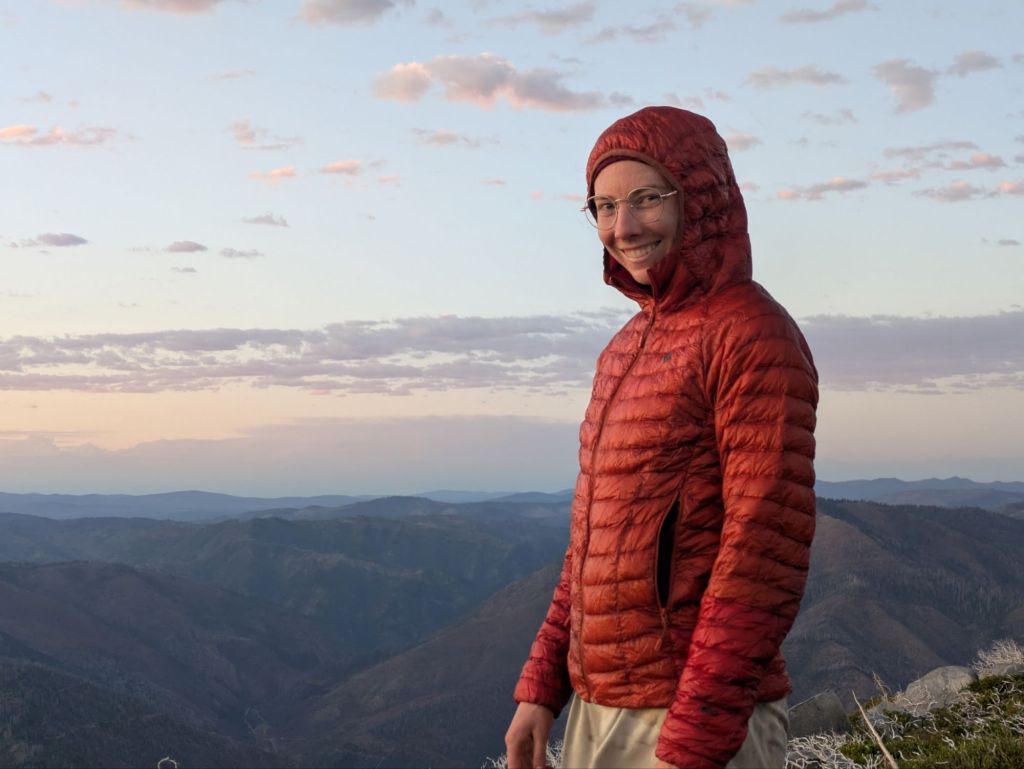
Insulated Jacket: Mountain Hardware Ghost Whisperer 2 Hooded Down Jacket
The Ghost Whisperer is one of the lighter options for a hooded puffy jacket and, consequently, pretty pricey. I lucked out and found mine for cheap on the used clothing website Poshmark. I liked how light the Ghost Whisperer was. I also like that it had a hood, because my quilt did not have a hood.
My Ghost Whisperer still has tons of life left in it. After the PCT, I washed it (with a down-specific detergent) and it’s almost as good as new! I will certainly use this jacket on my next thru-hike, and also just in regular life.
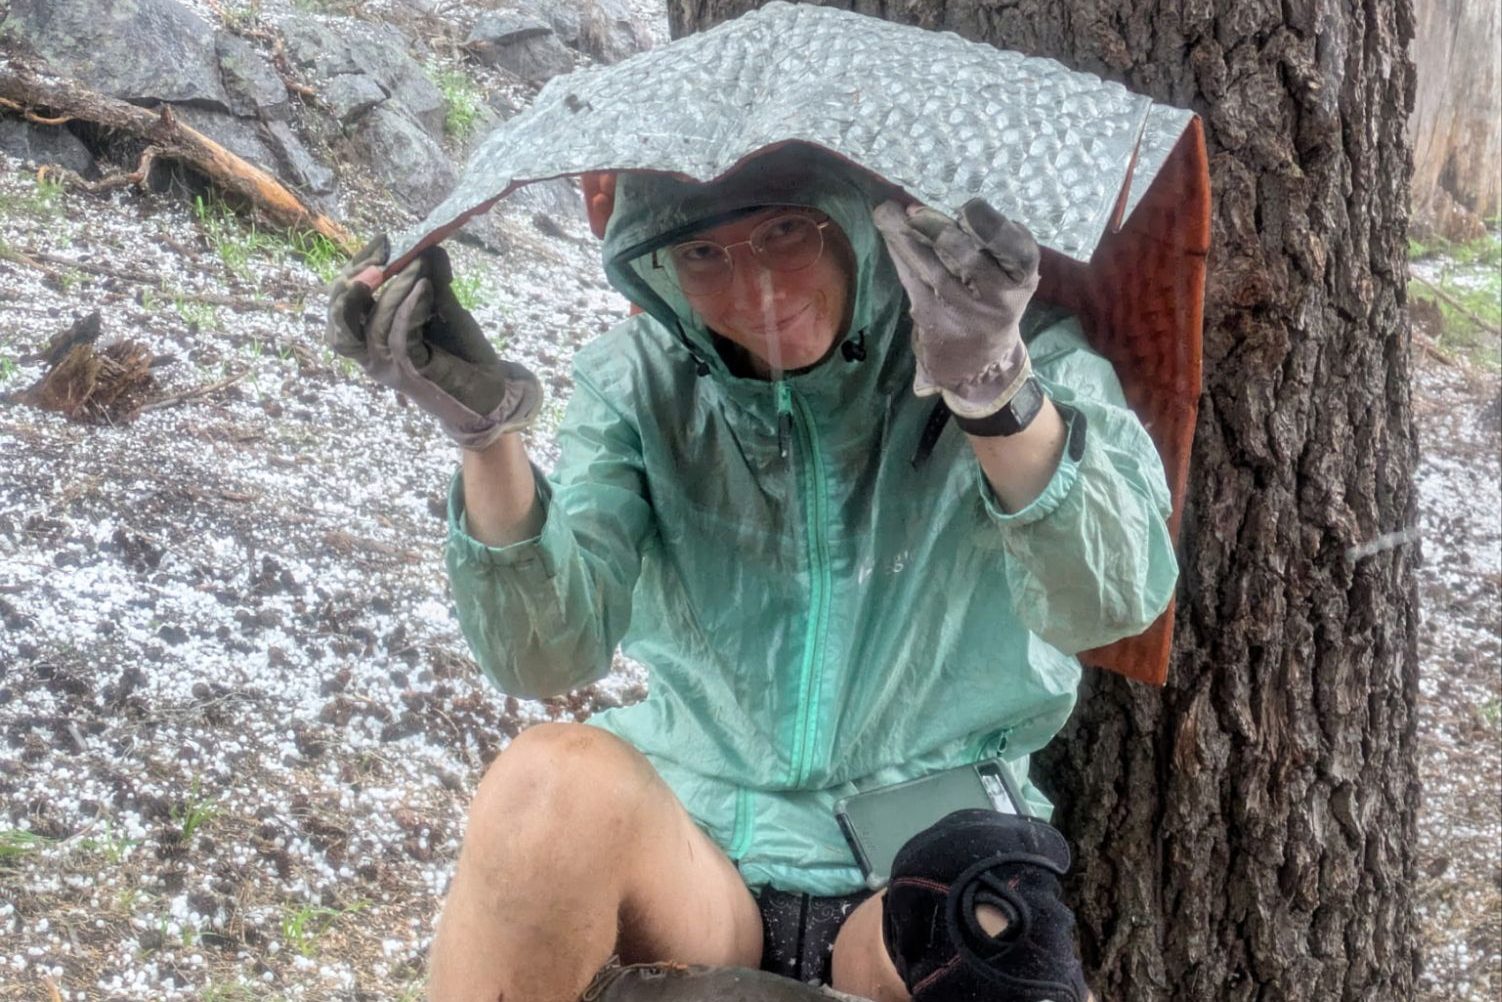
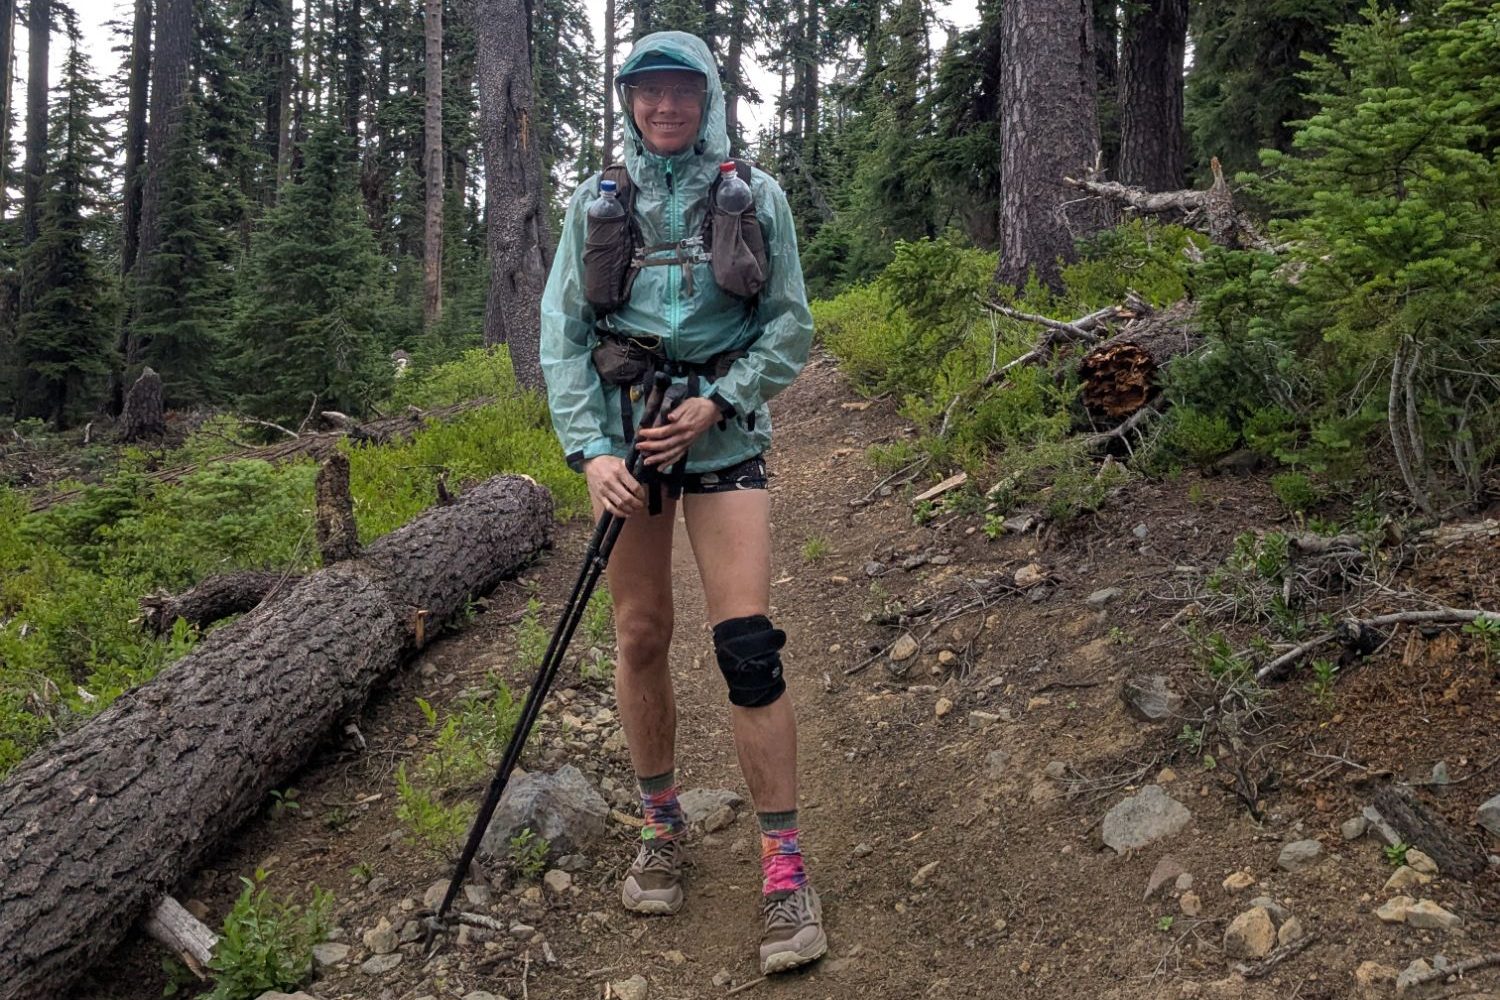
Rain Jacket: FrogToggs Xtreme Lite Women’s Rain Jacket:
My FrogToggs jacket was a good rain jacket, on the few occasions I used it! However, it rarely rained. More often, I’d put my FroggToggs on for added warmth around camp on cool and windy evenings. It did not bother me that this wasn’t a breathable jacket. When it rained on me, the temperatures were usually chilly, so I wasn’t sweating too much under the jacket. I found the FroggToggs Xtreme Lite more durable than the FroggToggs Ultra Lite jacket that I used to own.
Base Layer Top:
Nothing fancy! I started with a REI Kids’ Synthetic Base Layer top, which I swapped out for a cheap department store fleece in the Sierras. After the Sierras, I ditched the fleece and bought a cheap synthetic long-sleeve shirt for a few bucks at a consignment store in South Lake Tahoe.
Base Layer Bottoms:
I started with a pair of Smartwool Merino Wool Leggings that I got for free at a clothing swap. After 700 miles, these were full of holes, and I was tired of patching them up, so they went into the hiker box at Kennedy Meadows. I replaced them with REI Kids’ Synthetic Base Layer bottoms, which I carried for the rest of the trail (also full of holes now).
Other carried clothes:
- Merino wool headband – I probably could have sent this home after the Sierras, but it was nice to have in northern Washington, too.
- 2 pairs of extra socks – Darn Tough Micro Crew Mid-Weight Hiking Socks. (1 to sleep in, 1 drying on my pack). I tried going down to one extra pair for a bit, but that didn’t work for me.
- 2 pairs of extra undies – same deal (1 to sleep in, 1 drying on my pack)
Clothes I Wore
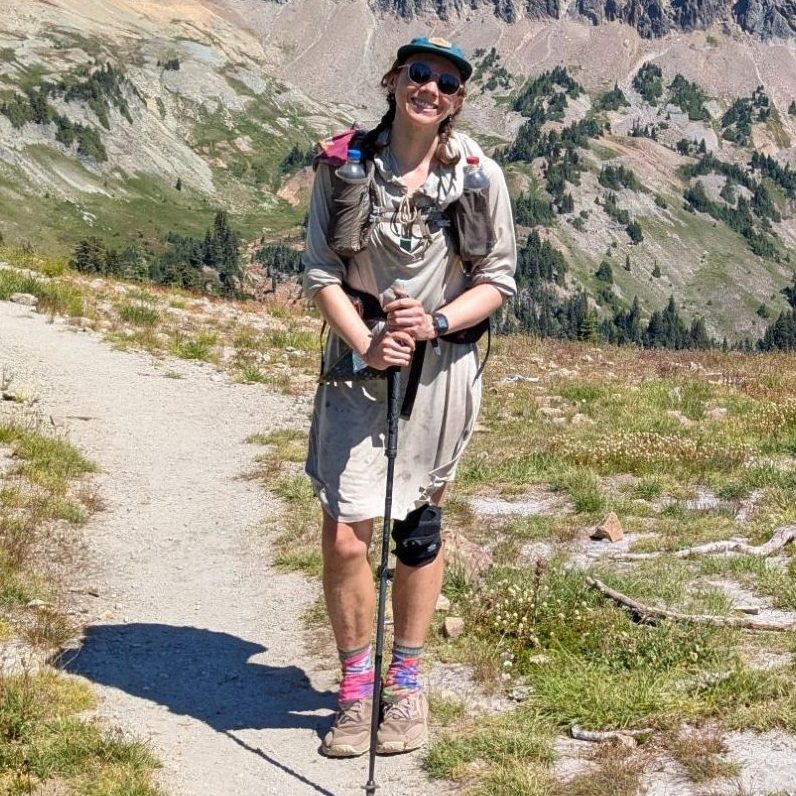
Sun Protection: Long-sleeve hooded UPF 50 Beach Cover Up Dress
I don’t think I’ll ever go back to thru-hiking in shorts/pants! I love hiking in a dress. This was a cheap beach cover-up from Amazon (brand was HotOuch, $30!). It held up for the whole trail, but was very stained and stretched out by the end.
The best things about hiking in a dress are ventilation and sun protection. I also like the option to wear various things or combinations of things underneath (base layer leggings, spandex shorts, undies, etc).
Hiking Top & Bottom: Spandex Workout Set
Under the hiking dress, I opted for a very minimal spandex workout top-and-bottom combo: a shelf-bra crop top and 3″ inseam shorts. Sometimes on very hot days, I took the shorts off and carried them in my pack for extra breeziness under the dress.
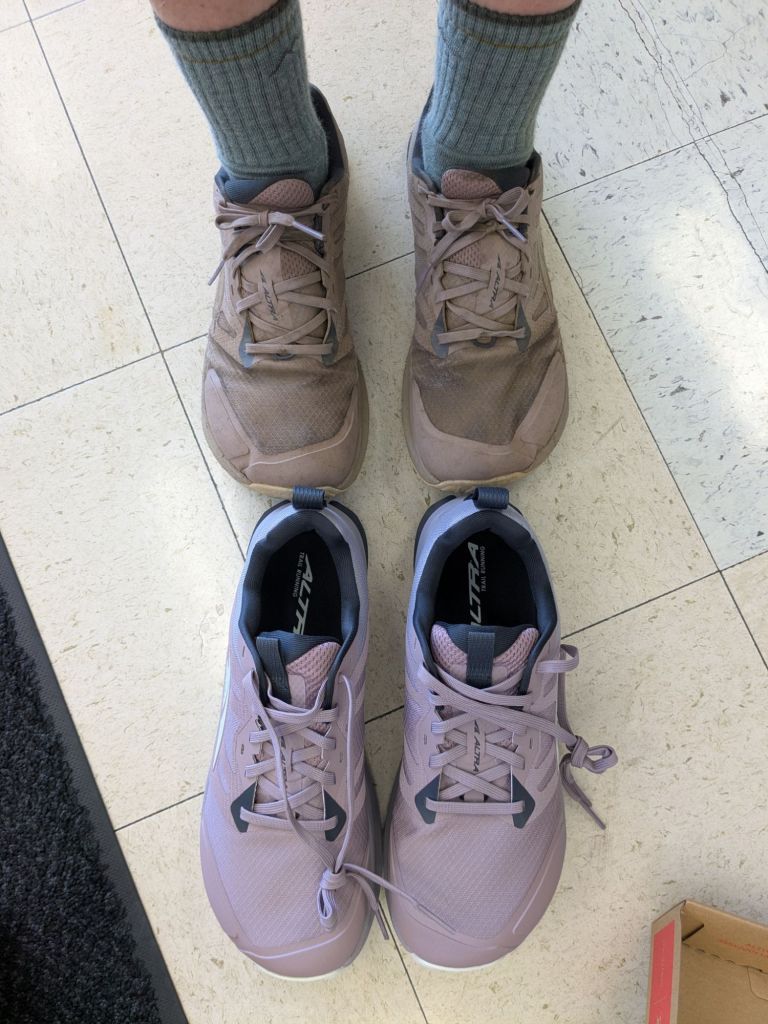
Shoes: Altra Lone Peak Women’s Trail Running Shoes
I liked my Lone Peaks and used 5 pairs of them during the PCT. I swapped out each pair for new ones after ~600 miles. 4 pairs might have gotten me there if I’d pushed closer to 700 miles per pair.
The locations I bought/mailed new shoes were:
- Campo, CA (started with a fresh, unused pair at mile 0).
- Tehatchapi, CA (mile 558)
- South Lake Tahoe, CA (mile 1,092)
- Ashland, OR (mile 1,727)
- White Pass, WA (mile 2,303)
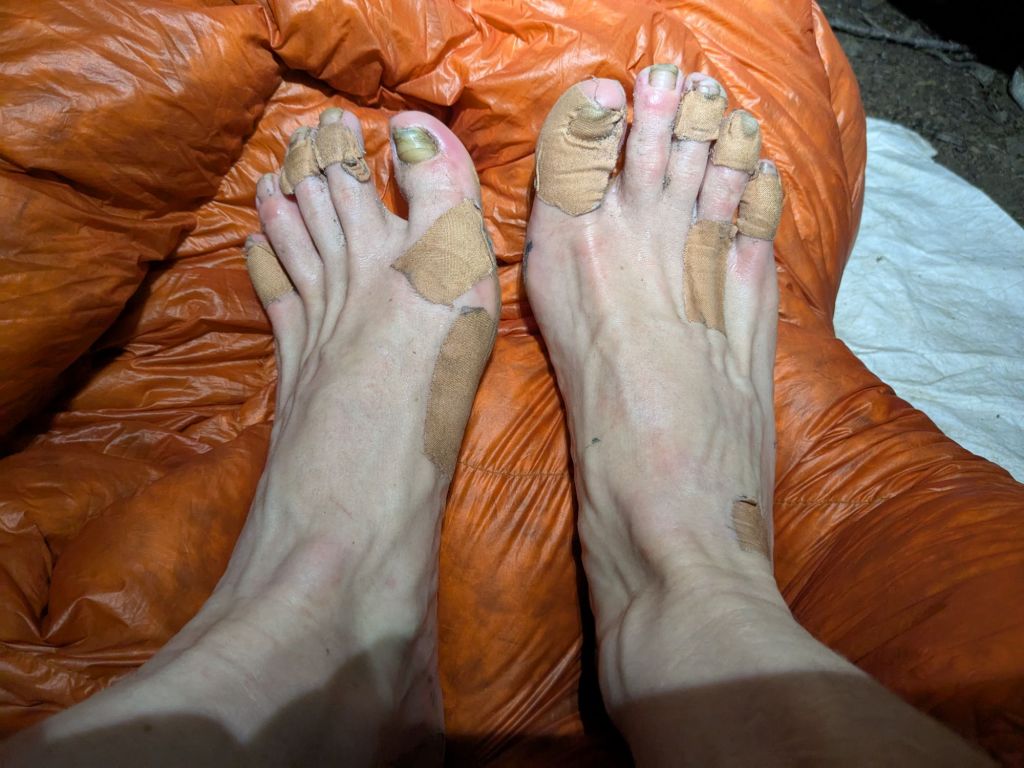
The only foot issues I had were skin and nail-related as opposed to musculoskeletal. I.e., ingrown toenails, several blisters, chaffing, and chemical burns from ash in the burn areas. My feet didn’t grow significantly during my hike, so I never sized up or switched the model or width of the shoe.
Socks: Darn Tough Micro Crew Mid-Weight Hiking Socks
The main benefit of Darn Tough socks is that they are super durable, and they have a great warranty. If they get a hole, the company replaces them for free! I wore Darn Tough socks for the whole PCT, replacing them only once with new pairs.
Post-PCT, I still like Darn Tough socks. That’s not to say I didn’t have foot issues out there. However, I think my foot chaffing, blisters, and chemical burns resulted from how old and dirty my socks were, not the brand of sock. After a couple of months of backpacking, my Darn Toughs were like sandpaper, even when clean. I found there came a point when no amount of rinsing and washing got the socks soft.
All my foot issues significantly improved after I replaced my Darn Toughs with fresh ones in Ashland, OR (mile 1,727). I only replaced my socks that one time, but some thru-hikers replace their socks more frequently, which now seems smart.
Additional worn items:
- Prescription glasses – w/ sunglasses clip-on
- Shoe gaiters – Dirty Girl gaiters. They reduced the amount of sand/rocks in my shoes. I suspect this is why my socks lasted so long before getting holes (which was almost a bad thing, since I wanted to replace them with soft new socks!)
- Hat
- Buff – used for everything from blowing my nose and wiping sweat to drying myself off after showering at campgrounds and wearing as a top while doing laundry.
- Undies – worn with or without the workout shorts over them
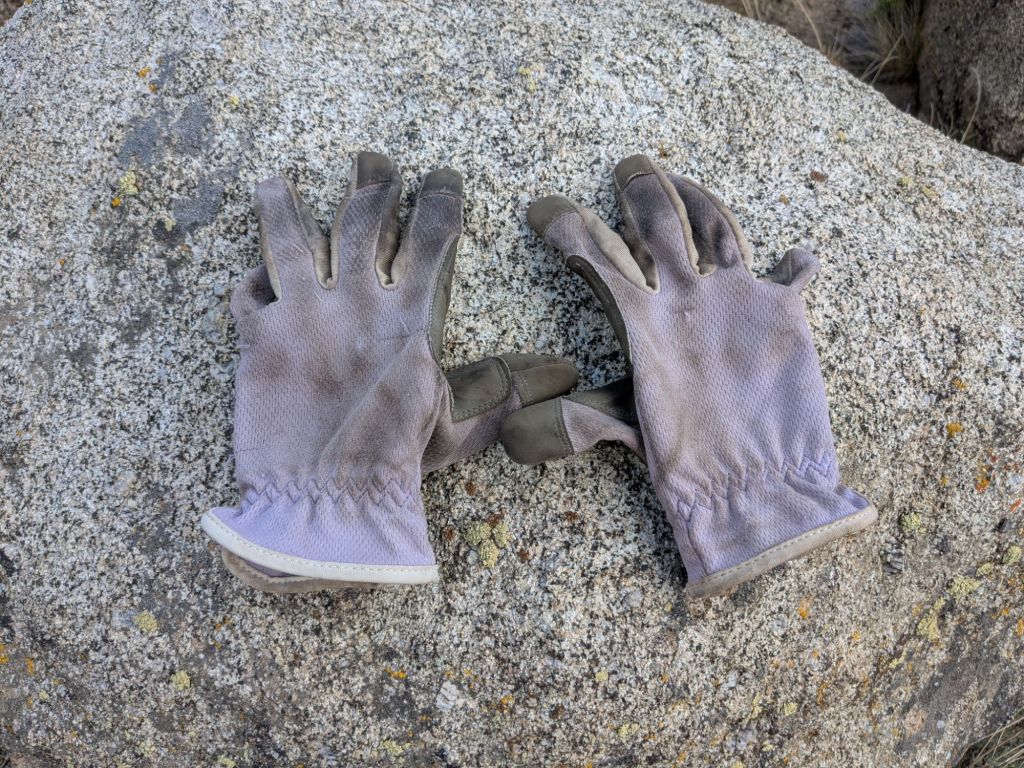
- Gloves – a cheap pair of gardening gloves that worked both as sun gloves and as insulating gloves in cool weather. I wore them most days for sun protection or cold. I destroyed them by the end of the trail, but they were one of my favorite items!
Water Stuff
My water system stayed mostly the same for the whole trail, though I reduced my capacity after the desert.
Water Containers
I carried different water containers at different points on the PCT.
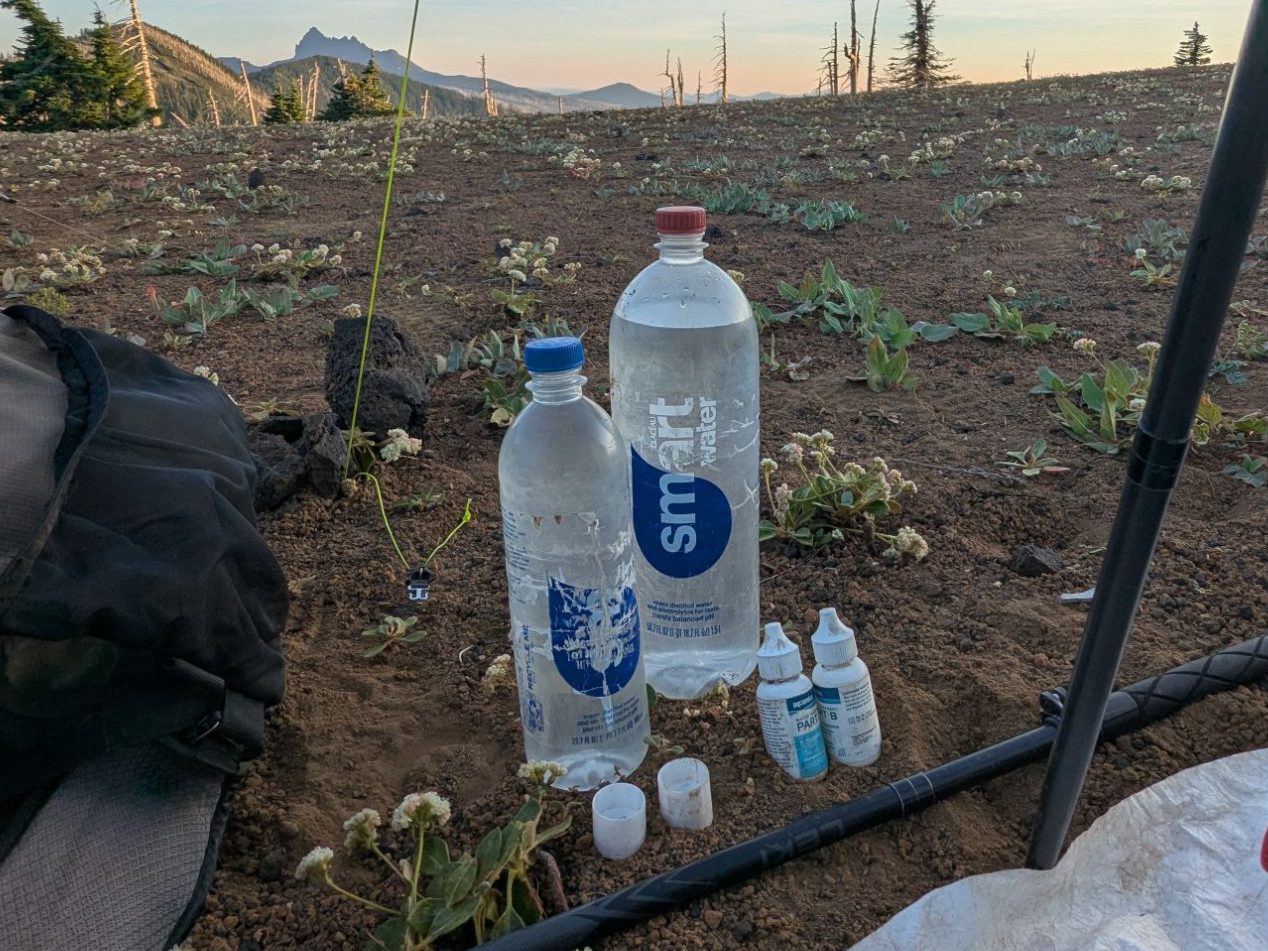
- Desert: 7 L capacity. 4 x 700 mL SmartWater bottles + 2 x 2 L Platypus bags. I never used the full capacity; I think the most I ever carried was between 5-6 L.
- Sierras onward: 5 L capacity. 2 x 700 mL and 1 x 1.5 L SmartWater bottle + 1 x 2 L Platypus bag. I think I used this full capacity on a few occasions while dry camping.
Water Treatment: AquaMira drops parts A & B
AquaMira is a chemical treatment that kills bacteria, viruses, and other scary stuff growing in natural water sources. According to the package, each 2-bottle set treats 30 gallons of water. I replaced my Aqua Mira every 20-30 days, depending on how much I was drinking. I did this by shipping more AquaMira to myself in trail towns.
I never caught any waterborne illnesses, so I’d say it was a success. The benefit of AquaMira is avoiding the annoying chore of filtering water. The downside of AquaMira is waiting 5 minutes for the 2 components to react in a little cup before adding it to water. This leaves some room for user error (e.g., letting the two components react for too long before adding them to the water). It also forces a hiker to take a minimum of 5-minute breaks at water sources… which is maybe a good thing.
Ditched after the Desert: Sawyer Mini
I began the PCT carrying a Sawyer Mini as a backup treatment method, but sent it home after the desert because I didn’t use it. I thought it would be useful for chunky water sources. But instead, I’d just pre-filter chunks out using my buff or shirt sleeve and then treat my water with AquaMira.
Food Stuff
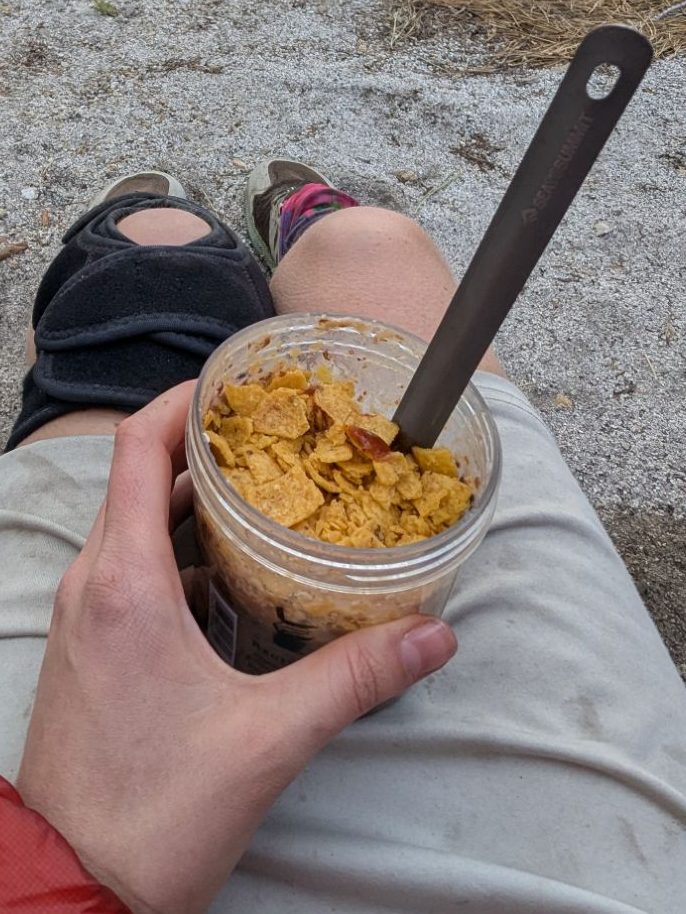
I went stoveless for the whole PCT. Instead of cooking, I cold-soaked or ate wraps/sandwiches for dinner. I liked being stoveless and would do it again. It was nice to never worry about finding fuel canisters or if I’d have enough fuel to make it to the next town. Also, in my opinion, it was often too warm outside to want hot food! I would go stoveless again.
I carried:
- Talenti plastic jar
- Long-handled metal backpacking spoon
- 1/3 kitchen sponge
- Dr Bronner’s Unscented Pure-Castile Magic Soap – 2 fl oz bottle, I also used this for showering in places where soap/shampoo were not provided or cost extra!
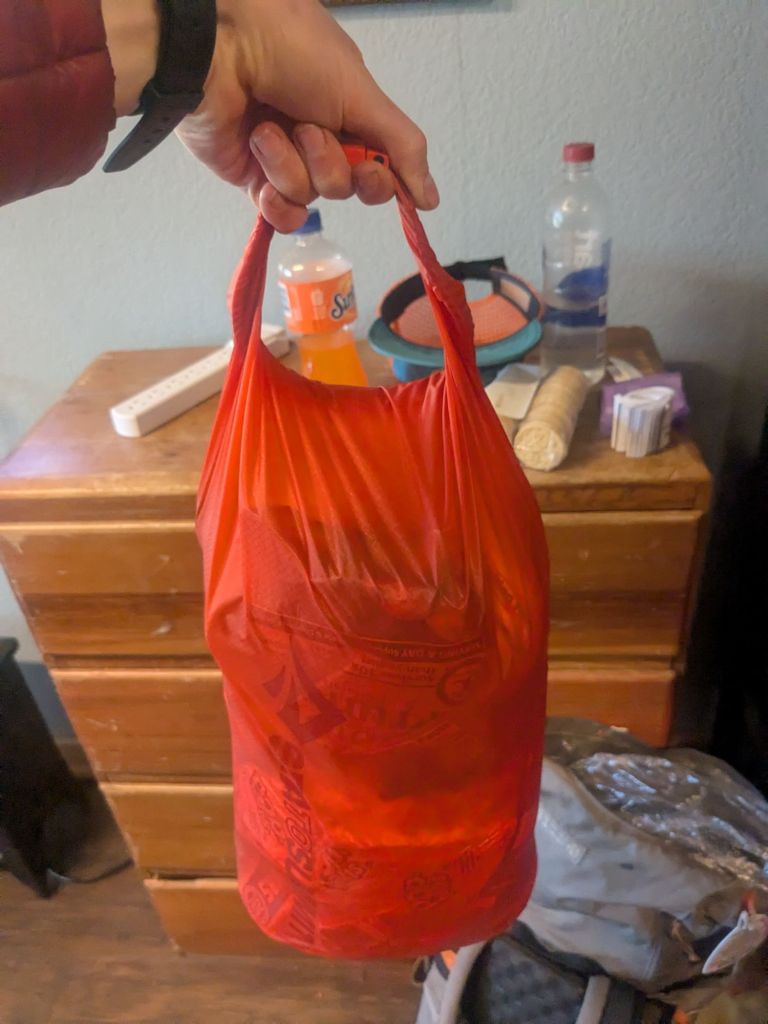
- Food Storage Bag: I started with Opsak odor-reducing food storage baggies. These broke within the first week on the trail. I replaced them with a Sea to Summit Ultra-Sil Dry Bag 13 L that I purchased at the gear shop in Idyllwild, CA. I might have been happier with the 20 L size,, but it cost more.
First Aid, Repair, and Emergency Kit
I made my own backpacking first aid kit and emergency kit. Here’s what I started with:
- Mini Swiss Army knife – includes tweezers, file, knife, and scissors
- Lighter
- Band aids – various sizes
- Gauze pads
- Medical tape
- Ace bandage – a bulky necessity, with my history of kneecap dislocations
- Alcohol prep pads
- Neosporin
- Medications – benadryl, ibuprofen, pepto bismol, Imodium
- Tampon – fun fact: can be used to stop a nosebleed
- Medical gloves
- Safety pin
- Repair tape for gear
Partway through, I got rid of the ace bandage and medical gloves. I added Tums, Leukotape, and A&D Ointment. I also carried Second Skin Liquid Bandage for part of the trail while I was having chaffing issues.
Electronics
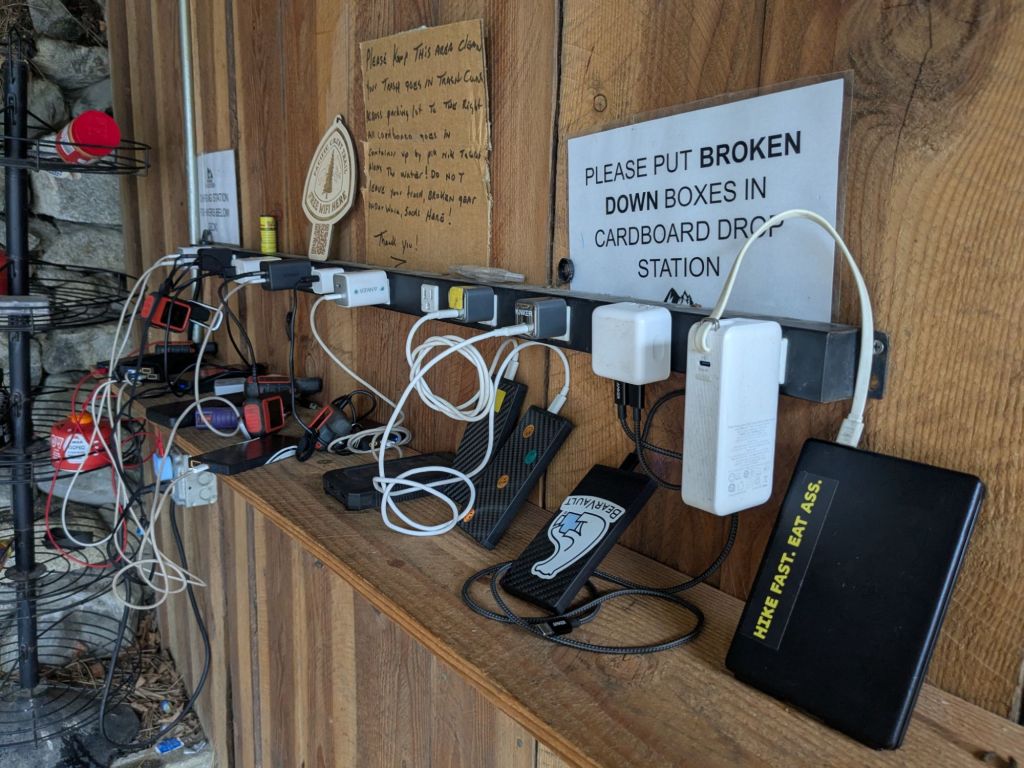
I carried the same electronics the whole trail. I had:
- Phone: Pixel 6a
- PLB: Garmin In Reach Mini 2
- Headlamp: NITECORE NU25 UL 400 Lumens Ultralight Rechargeable – I did a decent amount of night hiking and thought this headlamp was good enough for my purposes. The red light setting is excessively bright.
- Folding travel keyboard: Loved this! For typing blog posts!
- Bluetooth Earbuds
- Power bank/Wall Plug: Anker Power Bank (10K, Fusion, Built-In Cable). I liked that this bank had a wall plug built in, so no need to carry a separate block!
- Extra Cable: handy for charging 2 things at once.
- Adapter: USB-A to USB-C
Toiletries
- Kula Cloth
- Trowel: The Tent Lab The Deuce #2
- TP and/or baby wipes in a Ziploc
- Extra Ziploc for packing out used TP/baby wipes
- Hand sanitizer – 1 oz
- Toothbrush
- Toothpaste
- Dental floss – sent this home, as I wasn’t regularly flossing while on trail 😦
- Nighttime mouth guard
- Comb
- Hair ties
- Sunscreen
- Bugspray with deet – I added this for the Sierras through Oregon
- Lip balm
- Squirrel’s Nut Butter Anti-Chafe Salve – 0.5 oz tin
- MeLuna cup w/ cloth case
Paper Things
- Printed PCTA Long Distance Permit – I had my permit checked twice (once in the Sierras and once in Washington)
- Printed California Campfire Permit
- PCT Databook Pages – cut into sections and put in my resupply boxes. Though I didn’t use these much, I was glad I had them as a backup in case my phone broke.
Misc.
- Compression sack – I put my clothes and quilt in this during river crossings and rain, since it provides extra waterproofing. After the Sierras, I didn’t use it regularly but continued carrying it anyway. I generally shoved my quilt loosely into the bottom of my pack liner, rather than putting it into the sack.
- 3 mm utility cord – carried this the whole way and didn’t use it once
- Mini carabiner – handy for clipping things to the outside of my pack to dry.
- Ziploc baggies – various sizes
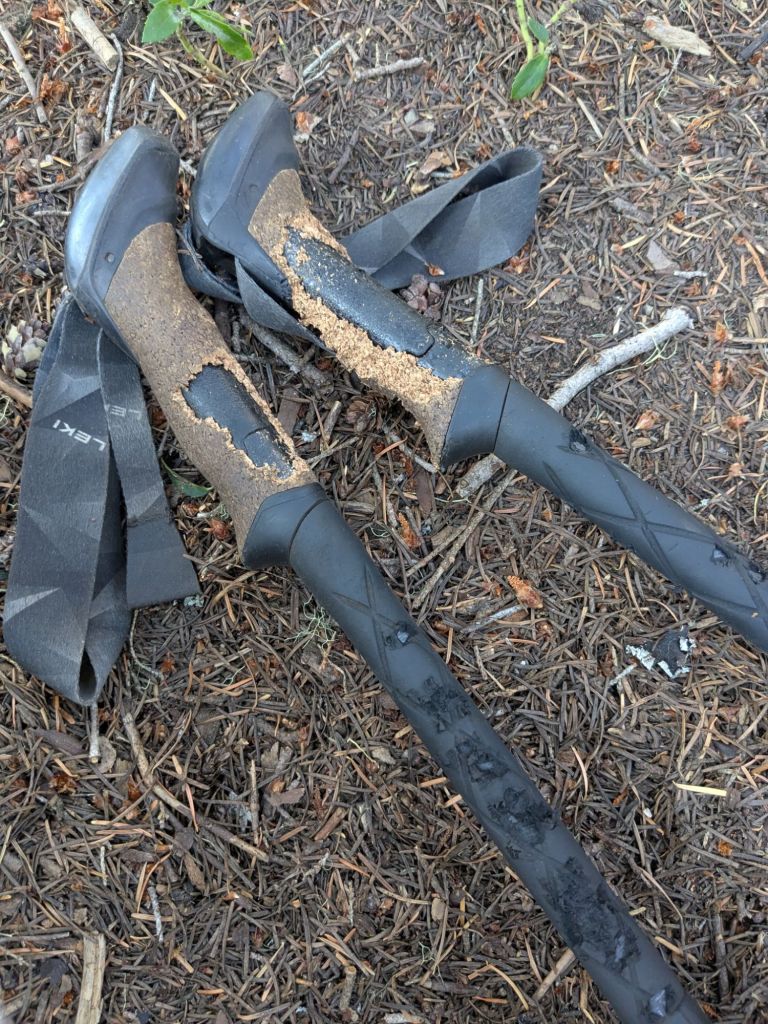
- Trekking poles – Leki Black Series FX Carbon poles. Though very lightweight, these weren’t quite durable enough to survive the thru-hike. I got one stuck so that it couldn’t collapse, and I broke the locking mechanism on the other. I ended up hiking most of Washington using a single pole, rather than trying to figure out how to replace the pole mid-thru-hike.
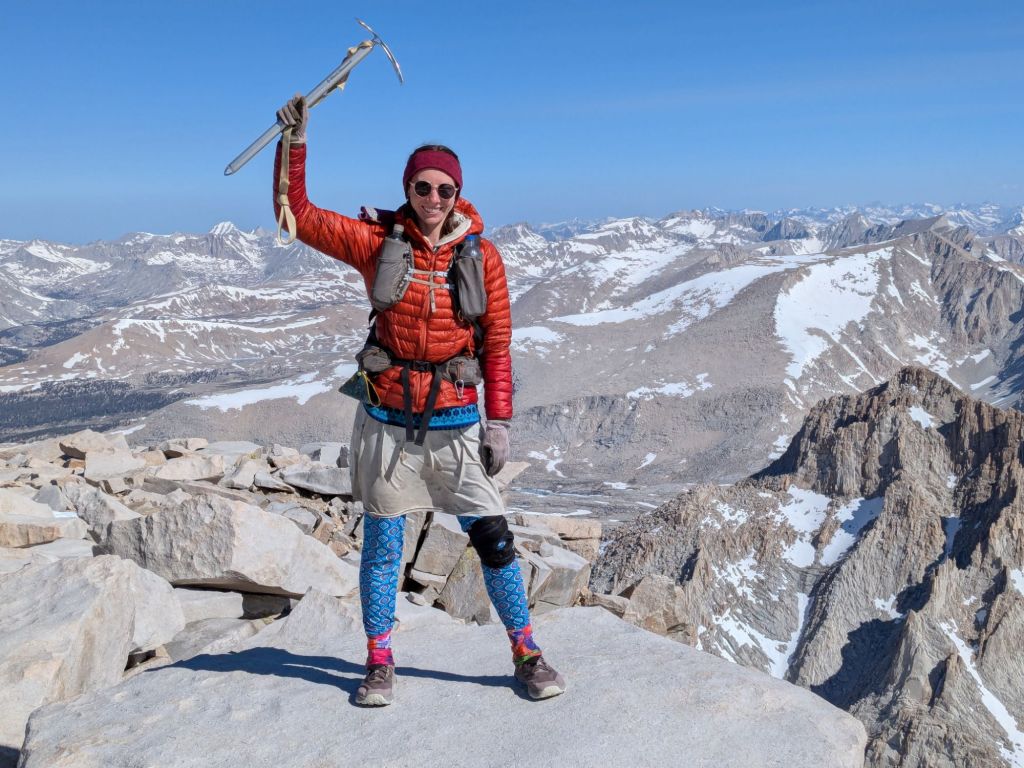
- Knee brace – an unfortunate necessity on this trip, thanks to the knee injury that had me starting the year on crutches!
- Credit cards
- Driver’s license
- Cash
Sierra Stuff
I added a few pieces of gear at Kennedy Meadows (mile 700) and sent things home at various times.
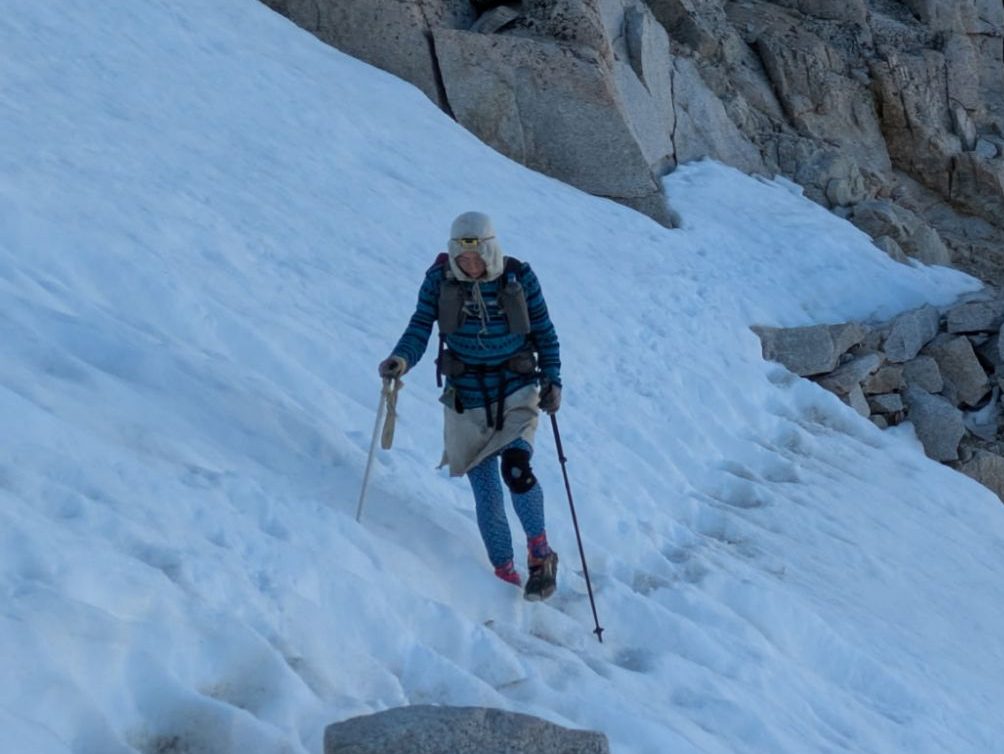
- Ice Ax: Black Diamond Raven 60 cm – glad I had it! For reference, 2025 was an average snow year, and I entered the Sierras on June 6th. I climbed Mt. Whitney on June 8th. Some hikers didn’t have one and were fine. Personally I wouldn’t have been comfortable without mine. I carried it from Kennedy Meadows through Mammoth only.
- Traction: Kahtoola MICROspikes – I was definitely glad I carried these for going over snowy passes. I carried these from Kennedy Meadows to South Lake Tahoe. I think the final time I used them was around Sonora Pass.
- Bear Canister: BV500 – This was one of the largest bear canister options available in 2025, yet I don’t think it’s big enough to carry the amount of food a thru-hiker wants to eat. I carried it from Kennedy Meadows through South Lake Tahoe.
- Fleece – as mentioned in the carried clothes section, I swapped out my thin base layer top of a chunkier fleece top in the Sierras (Kennedy Meadows through South Lake Tahoe).
- Bug head net – for mosquito protection (carried from Kennedy Meadows through the end of Washington).
And that’s everything!
I hope this post is interesting to anyone who followed along with my Trail Journal during my PCT thru-hike. I also hope this info is useful to any aspiring PCT thru-hikers reading it. However, I also hope you take my gear thoughts with a grain of salt. Ultimately, gear is very personal, and what suits one hiker might not suit another. That said, I was overall very happy with most of the gear I carried on the PCT.
Leave a comment below! What is your favorite piece of backpacking gear?

Leave a comment