After years of backpacking, I’ve learned the value of owning durable, high-quality gear. However, if you’re getting started and trying to save money on your backpacking setup, it can be hard to discern essential items from the frivolous and unnecessary ones. In this post, I’ll share several gear swaps to save money on your backpacking setup. These are easy places to save, allowing you to put your money towards more important gear instead: like a warm sleeping bag, lightweight shelter, and comfortable backpack.
All the ideas in this post boil down to three main principles:
- Make it yourself: you can easily make some pieces of backpacking gear, even if you don’t have good sewing or DIY skills.
- Use something you already own: there’s no need to run out to the store to buy a backpacking-specific version of an item you already own.
- Avoid marked-up “backpacking” versions of gear when the regular version will do: items designed and marketed specifically for backpacking, hiking, and other outdoor sports come at a premium. For many items, a regular, non-backpacking version is cheaper and functions nearly or just as well.
Without further ado, here are 7 easy swaps to save money on backpacking gear.
1. Water bottle 🔁 disposable plastic bottle
First off, any water bottles you already own will work fine for backpacking. There’s no need to head to the store. However, if you don’t have enough water bottles (or are looking to upgrade to something more lightweight), one of the best options is a disposable plastic bottle.
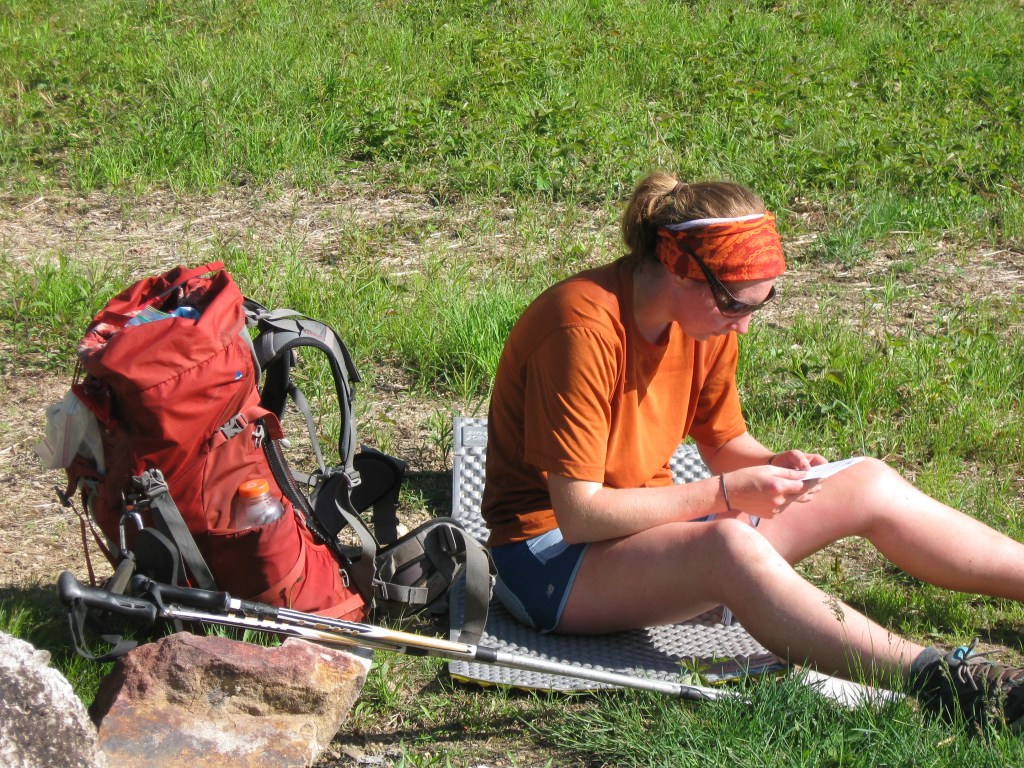
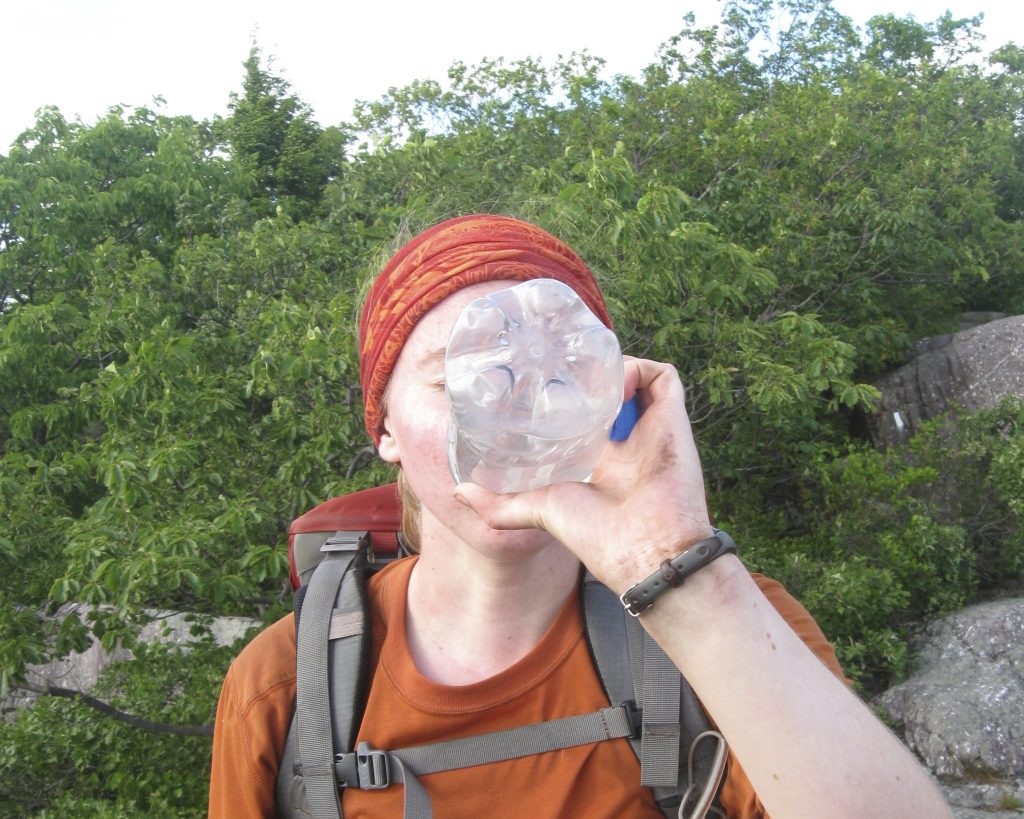
In fact, among thru-hikers on long trails like the Appalachian Trail, the most popular water bottles are disposable plastic ones, such as SmartWater bottles or Gatorade bottles. These are favored since they are both inexpensive and lightweight. A 32 oz Nalgene weighs around 6 oz and may cost upwards of $15. A 32 oz Gatorade bottle weighs less than 2 oz, costs around $2, and comes with a tasty beverage inside! In the lead-up to your backpacking trip, thoroughly rinse and save your plastic bottles. You’ll save money and pack weight.
2. Stuff sacks and wallet 🔁 Ziploc baggies
What if you could have an ultralight, weather-resistant hiking wallet for pennies? Meet the Ziploc baggie! It will keep your cash and cards dry while you hike. I recommend the sandwich or quart-size for a wallet. Try covering it in a fun, patterned duct tape for style points (or if you don’t like having a see-through wallet). I’ve used a Ziploc baggie as a wallet on many backpacking trips.
Larger, gallon-size Ziploc baggies work great for storing clothes, snacks, first aid kits, and other gear. There’s no need to buy a bunch of stuff sacks – which can cost $10-$50 a piece – when you can buy a whole box of gallon Ziploc baggies for a few bucks!
To remove air and excess bulk, I like to put my extra clothes in a Ziploc and seal the baggie almost all the way. Then, I kneel on the bag to expel the excess air before sealing it fully shut.
3. Backpacking bowl 🔁 plastic container
This hack is something I learned at Girl Scout camp as a kid, and still use to this day. Rather than buying a plastic backpacking-specific bowl, why not just bring a plastic food-storage container you already own? Make sure to pick something heat-resistant and decently durable. You can even carry the lid as a handy, leak-resistant way to store your leftovers.
4. Tent footprint 🔁 Tyvek or Polycro
A tent footprint is a piece of fabric or plastic that goes between the bottom of your tent and the ground. It helps protect your tent’s bottom from punctures, dirt, and moisture. When shopping for backpacking tents, you might notice that the tent footprint is usually not included. It must be purchased separately and may cost an additional $50 on top of the price of the tent or considerably more for ultralight footprints made from Dyneema Composite Fabric (DCF). That’s pretty pricey for what is essentially a big fabric rectangle
Luckily there are some cheaper, DIY alternatives. You can purchase thin, lightweight plastic sheets such as Tyvek (more durable but heavier) or Polycro (lighter but less durable). A piece large enough to go under a 1 or 2-person tent will cost around $20. These materials were not originally designed for backpacking, but are used by many backpackers under their tents or tarps. All you need to do is trim the plastic sheet to the right shape to fit under your tent.
5. Lightweight glove & sun glove alternatives
The last time I shopped for gloves at my local outfitter, I was shocked by the prices. A lightweight pair of hiking gloves can easily cost $30-$50, or considerably more for heavier options. As a disclaimer, if you’re doing cold-weather backpacking, it’s probably worth owning a good pair of warm gloves to keep your hands warm. However, if you’re looking for a light pair of gloves for summer backpacking to keep your fingers warm while taking down your tent in the morning, consider this cheaper alternative. Go to a hardware store and buy a lightweight pair of gardening or work gloves for under $5. They won’t have any frills or fancy features, but they will provide a bit of insulation for your hands on cool mornings in the mountains.
When I hiked the Colorado Trail, I picked up a pair of gardening gloves at Walmart in Frisco during my first resupply stop. This was mainly because I couldn’t find normal gloves in July. But I ended up loving gardening gloves for backpacking! Not only were they cheaper, but they were also considerably more durable than the gloves marketed for hiking. Go figure!
The same goes for sun gloves. Sun gloves protect the backs of the hands from sunburn. They are handy for hikers using trekking poles, especially in the desert, above tree line, or in other places with little shade. A pair of sun gloves at an outfitter could cost $25-$40. I’ve had good luck using a pair of lightweight $8 cotton gloves from a pharmacy – the kind people wear after putting lotion on their hands. While I’ve never used gloves designed specifically as sun gloves to compare, I can report that my $8 pharmacy gloves protected my hands just fine while hiking in the Grand Canyon in 100-degree heat and full sun.
6. Pack liner or cover 🔁 trash bag
Before you spend money on a pack liner or pack cover, try this age-old backpacking hack. Use a large trash bag! Specifically, a trash compactor bag is a good, durable option for a pack liner or cover. Trash bags are water-resistant as long as they don’t get any holes in them. You can put one inside of your pack and place your gear in it to serve as a pack liner. Or, you can put it over the outside of your backpack to protect it from rain. Some hikers like to cut two slits for the arm straps.
7. The secret to saving on base layers: shop in the kids’ section
This is the secret that hiking clothes brands don’t want you to know! The kids’ versions of base layers cost significantly less than the adult versions even though they’re virtually the same. For example, a pair of mid-weight base layer tights cost $54.95 in the women’s section at REI, while the kids’ section equivalent costs only $34.95. That’s $20 less for essentially the same product!
This hack works well for the relatively petite backpacker. That said, I’m 5′ 7″, above average height for women, and still found long underwear in the kids’ section that fit me. In my experience, a kids’ size large base layer is roughly a women’s small, and an extra large is about a women’s medium. However, the proportions are a bit different, so finding something that fits in the waist/chest may cause the inseam/sleeve length to be a bit wonky. Fortunately, most base layers are quite stretchy, making it easier to find an okay fit. Another good option for saving on base layers is buying ones not designed specifically for hiking, such as the ones sold at Costco.
Join the Conversation: do you have a favorite piece of DIY backpacking gear? Share it in the comments section below!

Leave a comment